
Fall has officially arrived!! Now it’s time to bring the outdoors in by incorporating the colors of the season into your home decor.

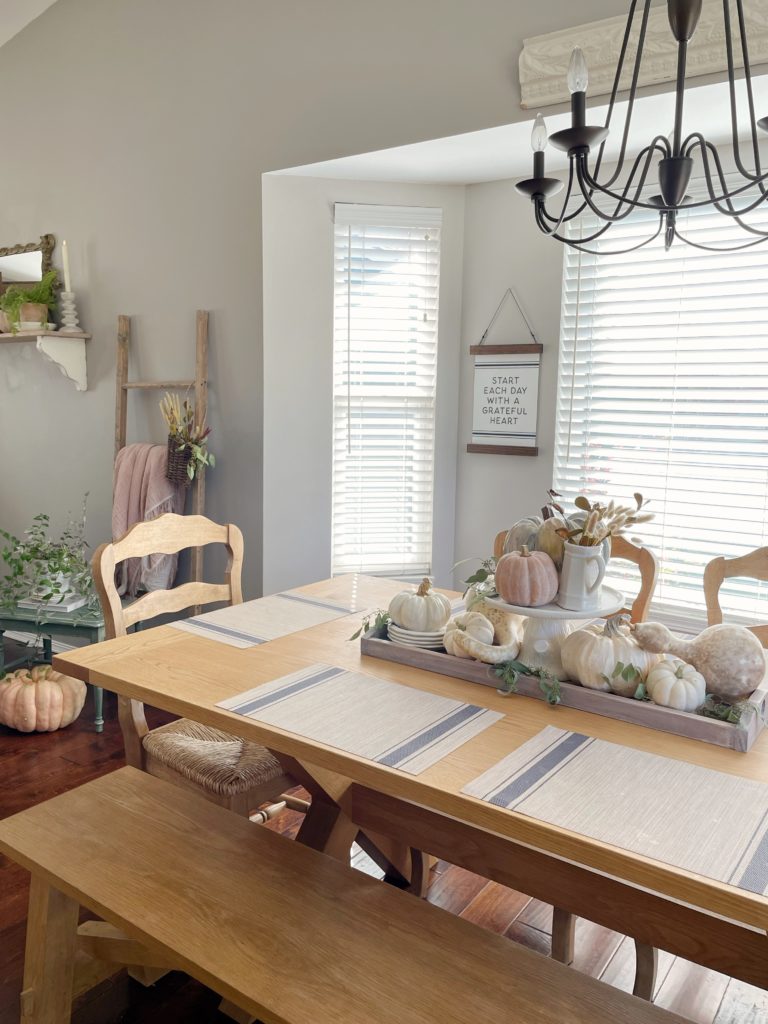
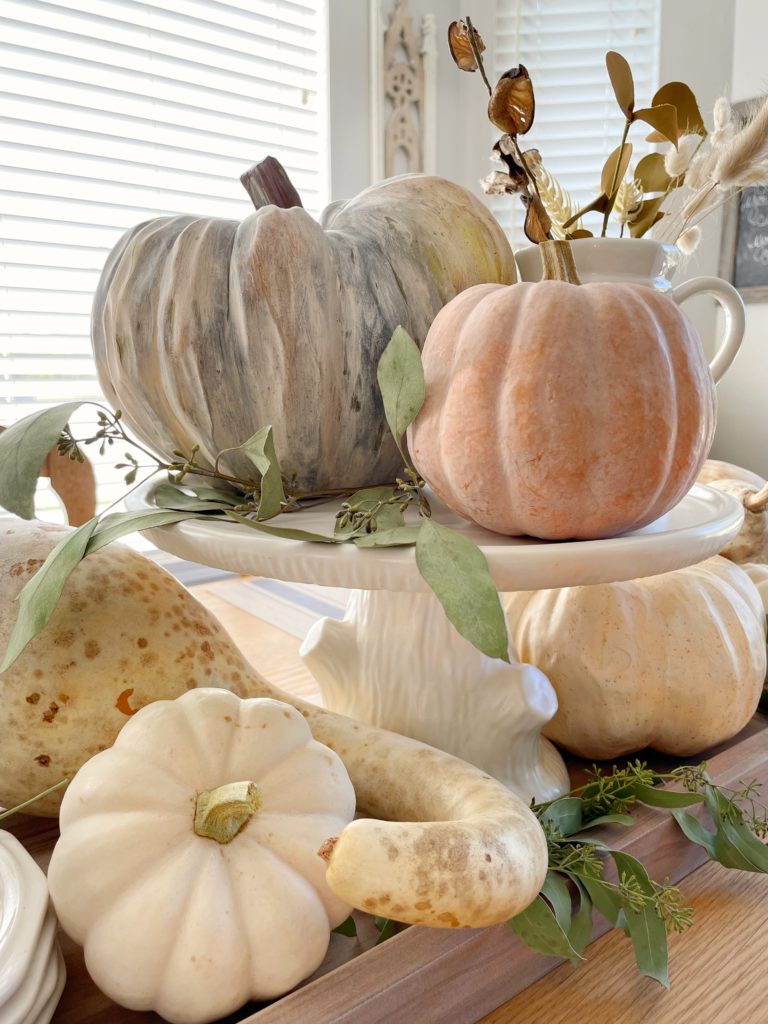
Pumpkins don’t just have to be porch decor. Bring those beauties inside!
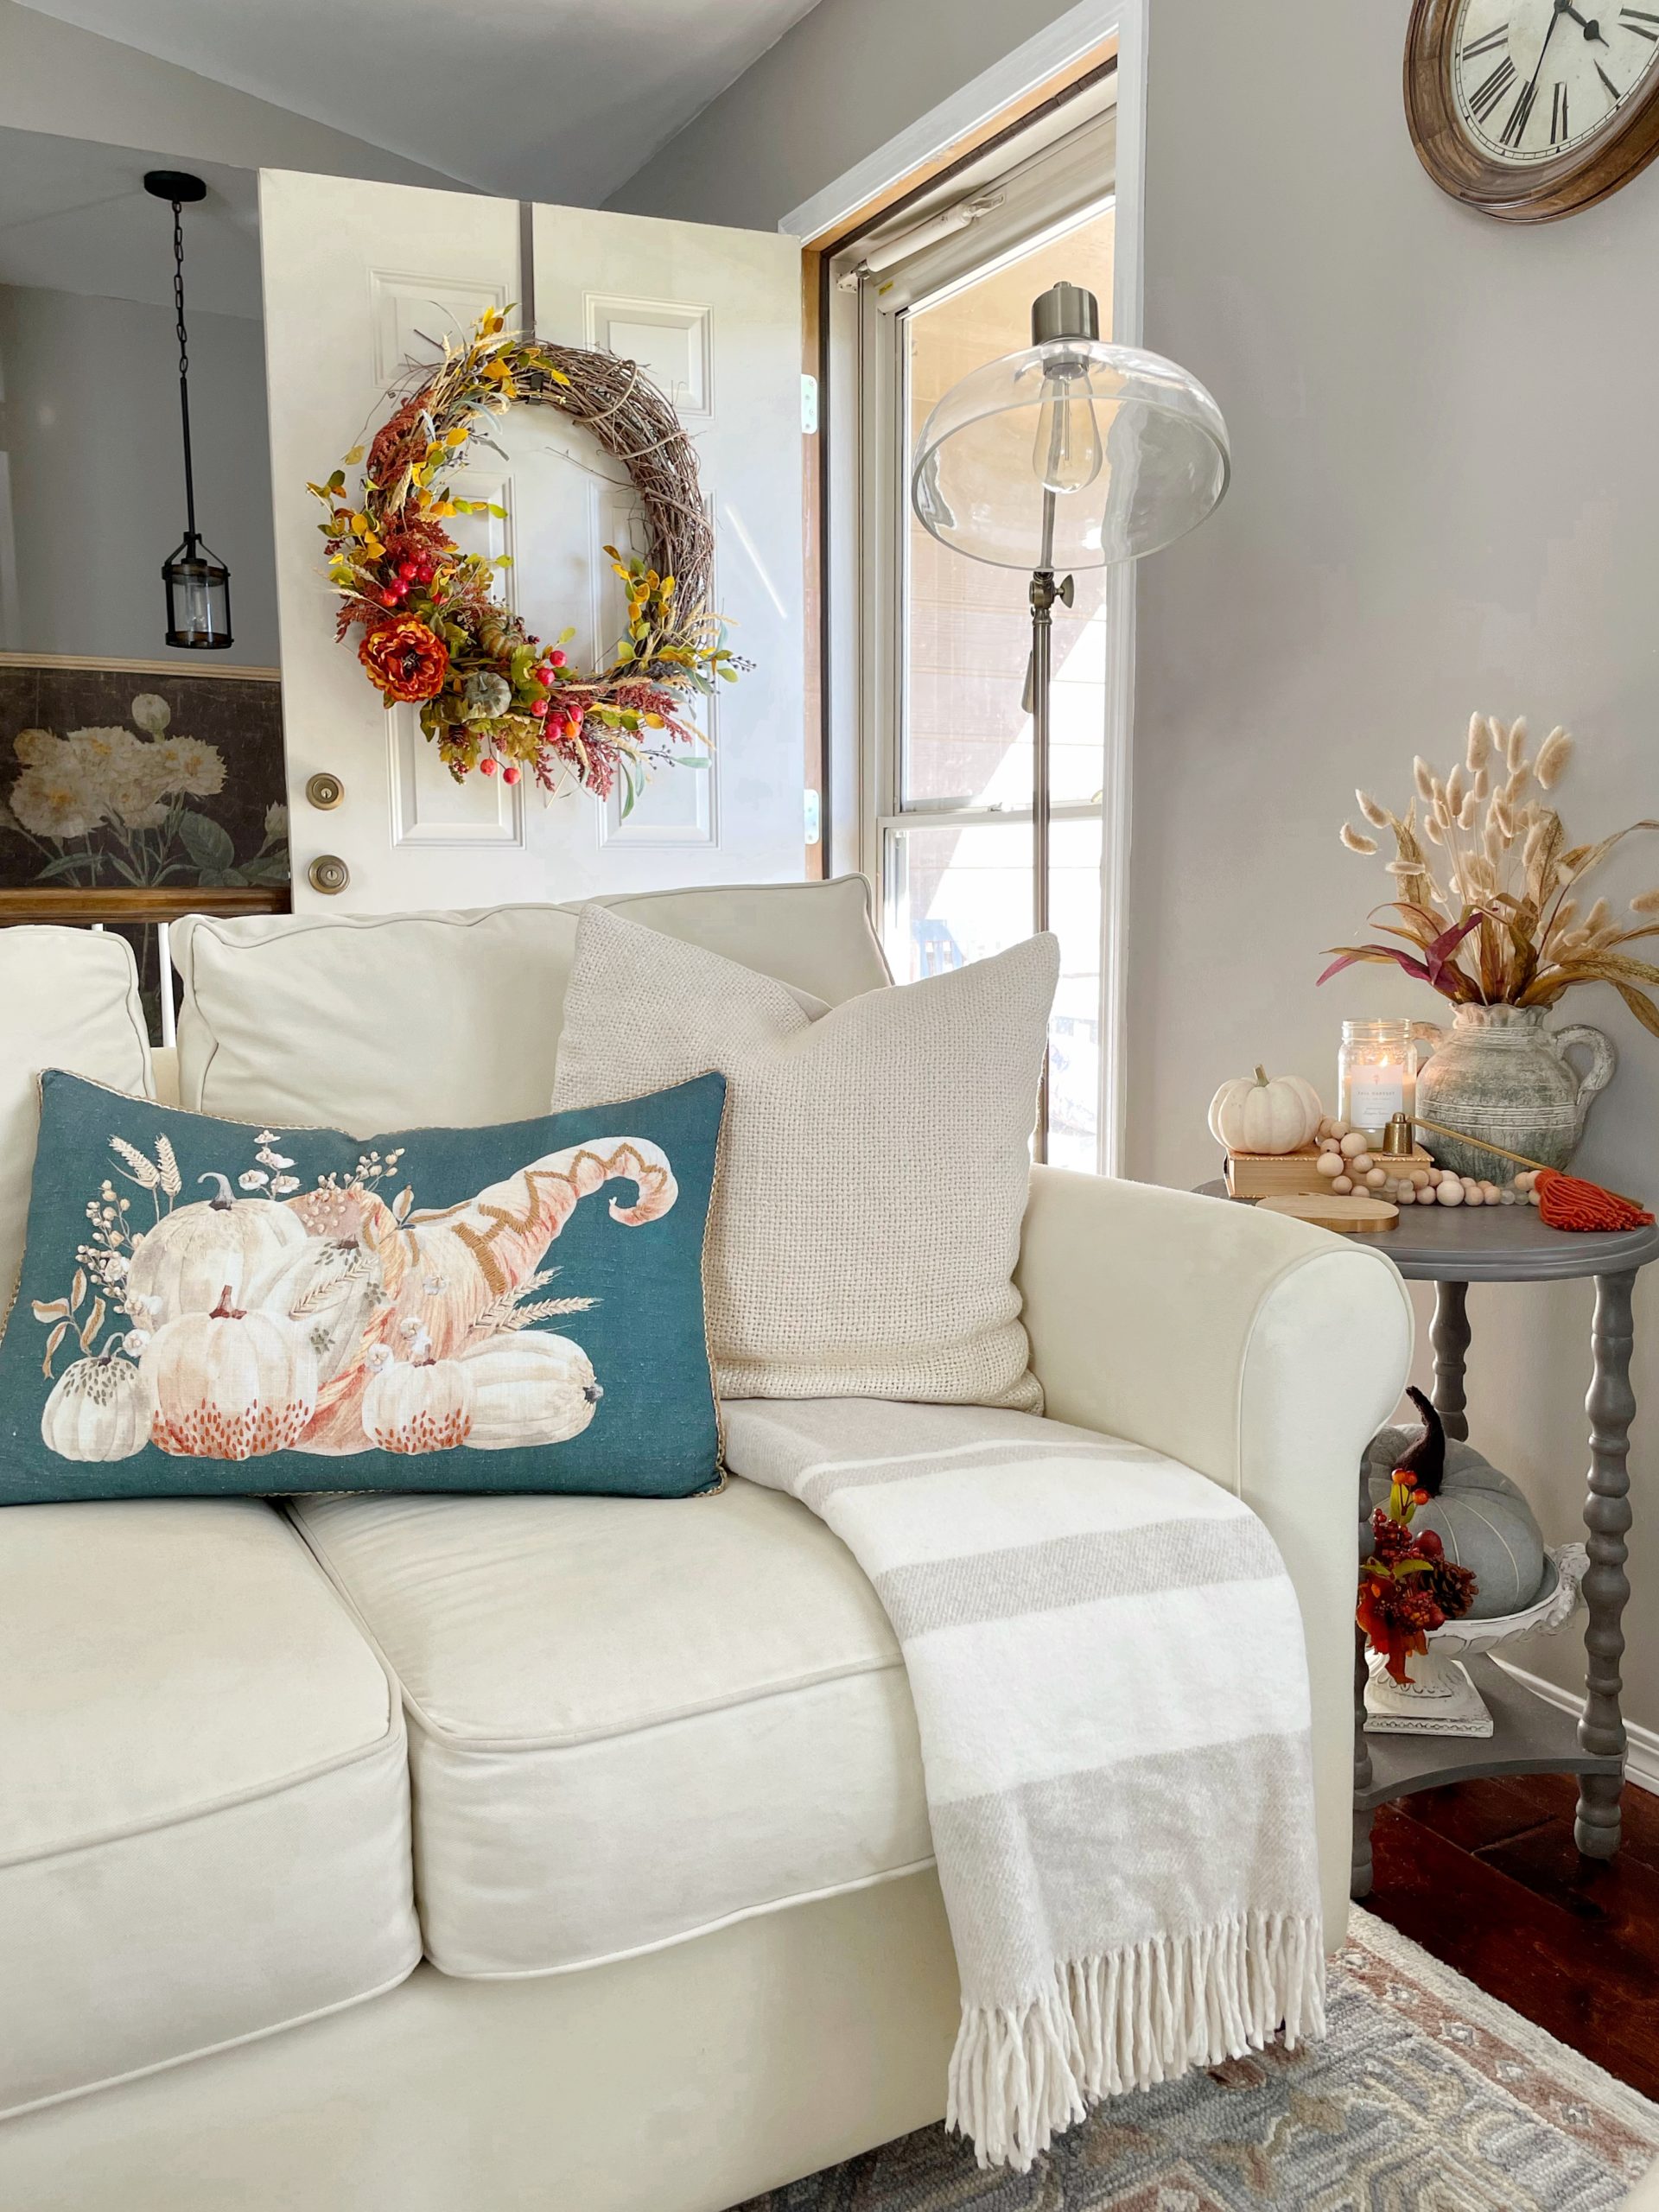
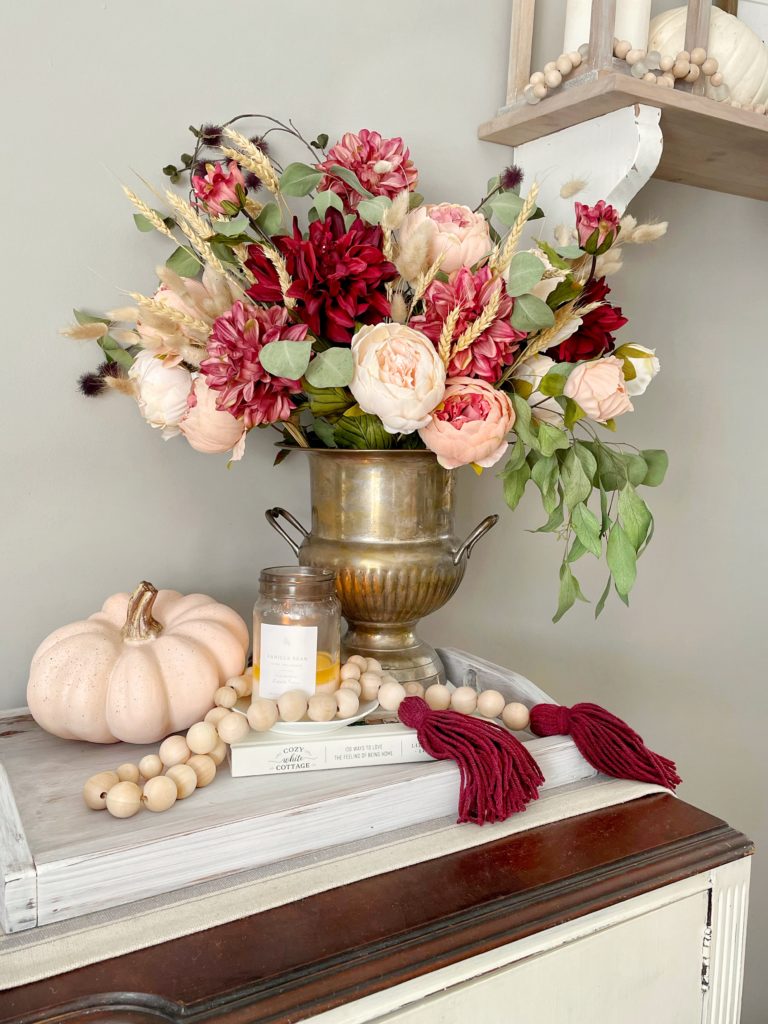
When it comes to fall decor there are so many ways to cozy up your home. The beauty outdoors from the changing colors of the season is great inspiration for colors & elements you can bring inside. I chat about how to add cozy touches to your home with throw pillows, blankets & more here. For now, let’s focus on bringing in natural elements like pumpkins and greenery to take that coziness up a notch.

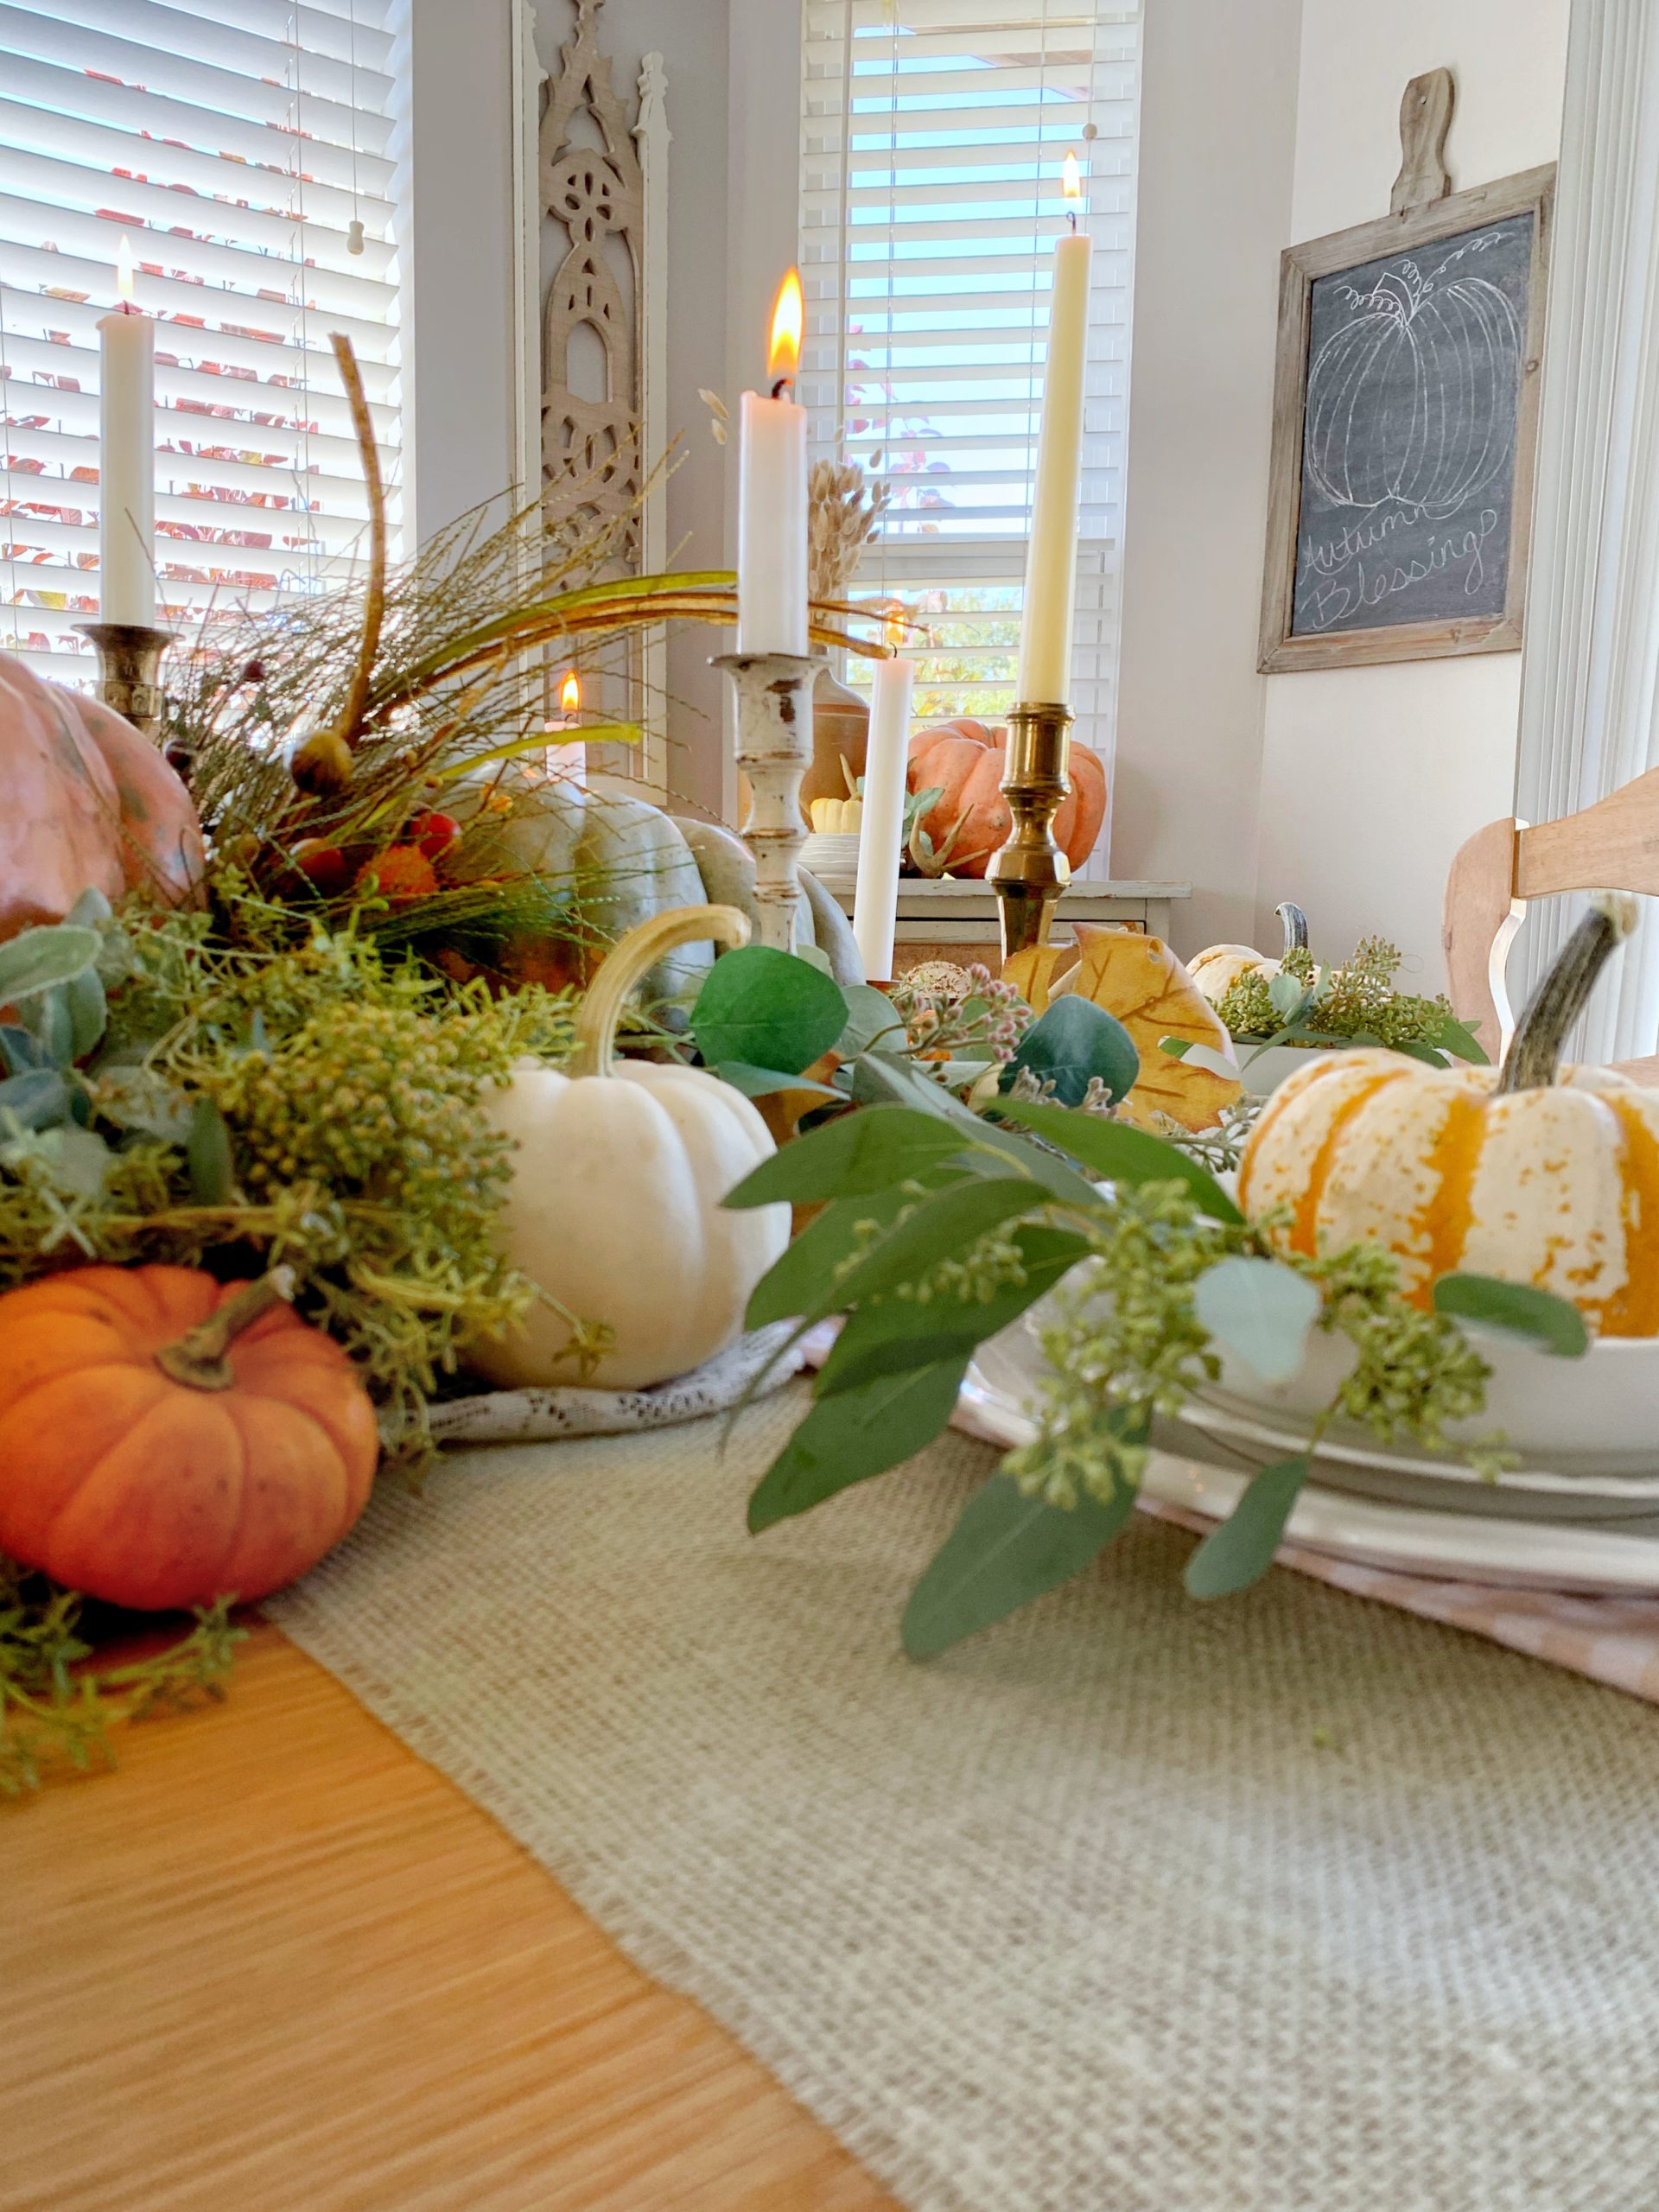
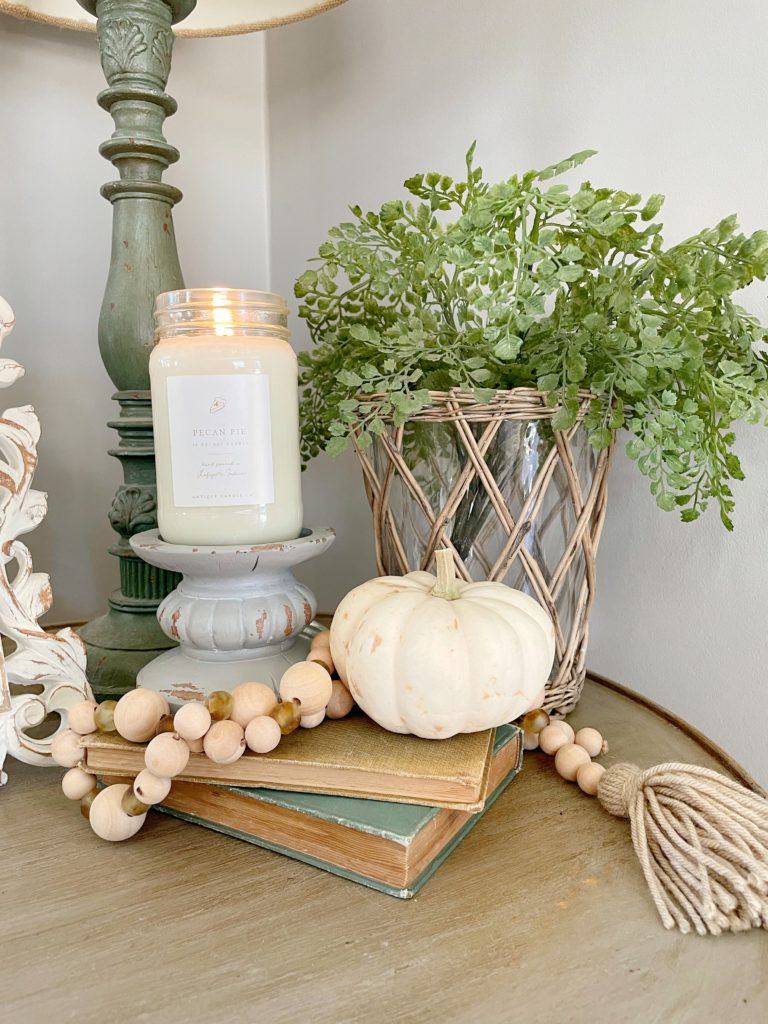
Of course the main natural element of the season in my opinion is pumpkins. With so many sizes and colors it’s easy to incorporate them into your decor. Even if you’re not a big fan of seasonal decor you can implement touches just by adding a couple of simple pumpkins to a shelf or table. There is a plethora of faux pumpkin options out there…fabric, wood, ceramic, foam, etcetera. They all make my heart go pitter-patter. Today though, I want to focus on the real deal grown on a vine cuties that I just can’t get enough of.
Just like us, pumpkins come in every shape, size and color you could dream of. The natural beauty of each ones imperfect perfection has me swooning every year around this time. When I enter the local grocery store, farm store or Lord help me, the pumpkin patch, it’s full on blackout mode. I can’t resist bringing ALL of those cuties home and finding a spot to let them shine.
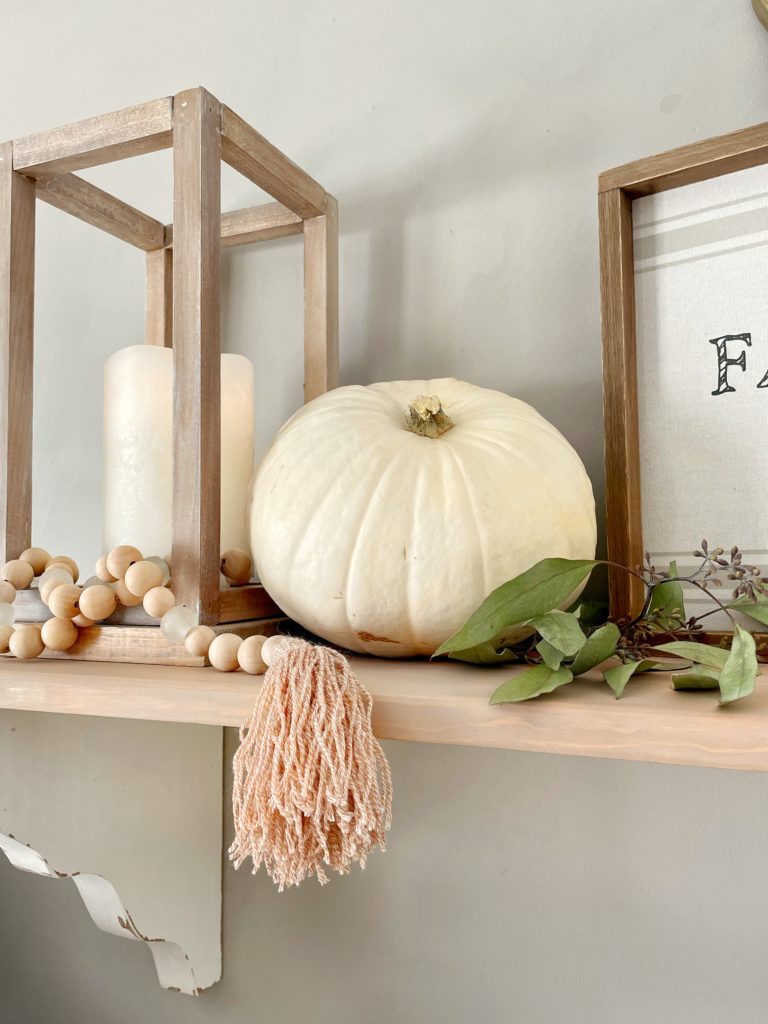
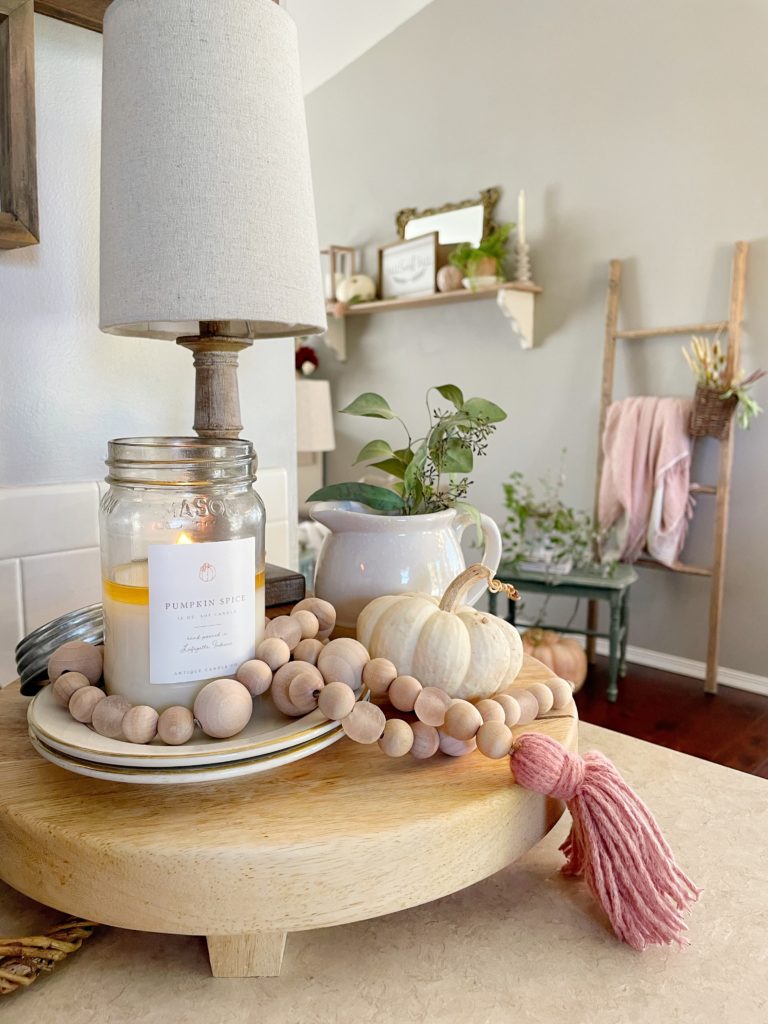
A simple mini white pumpkin can be used in a multitude of vignettes, so those are my number one suggestion if you’re just starting with adding in real pumpkins to your home decor.


Look at the sweet curly vine still on this pumpkin stem…swoon!!
Bring in the pops of seasonal color
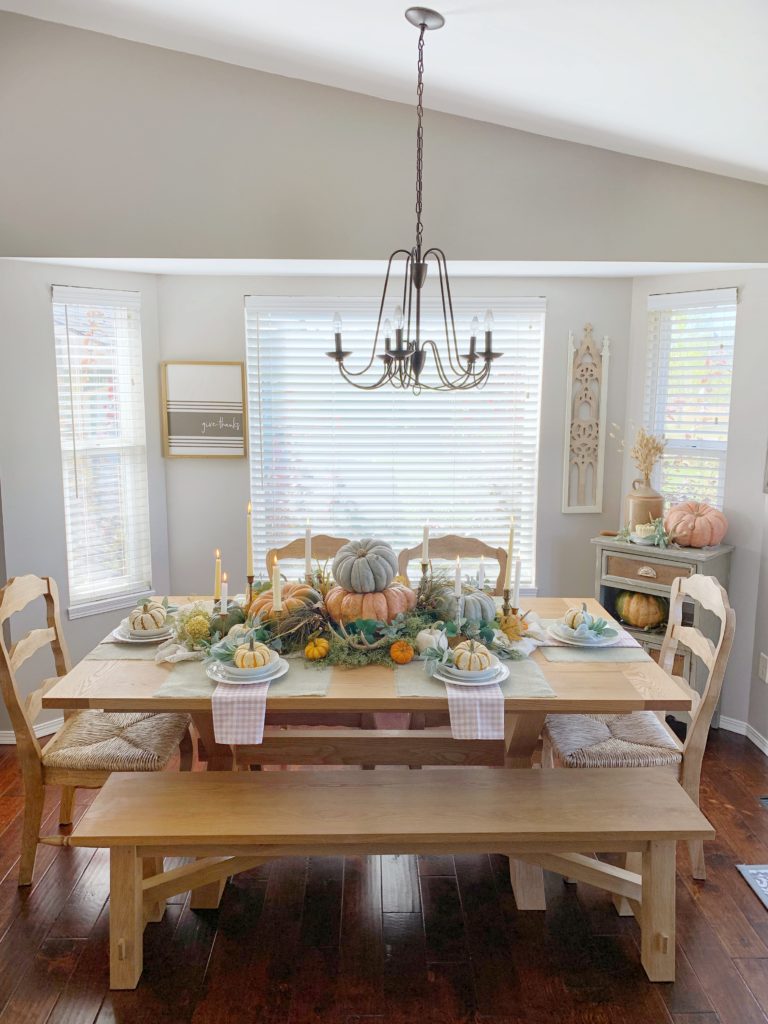
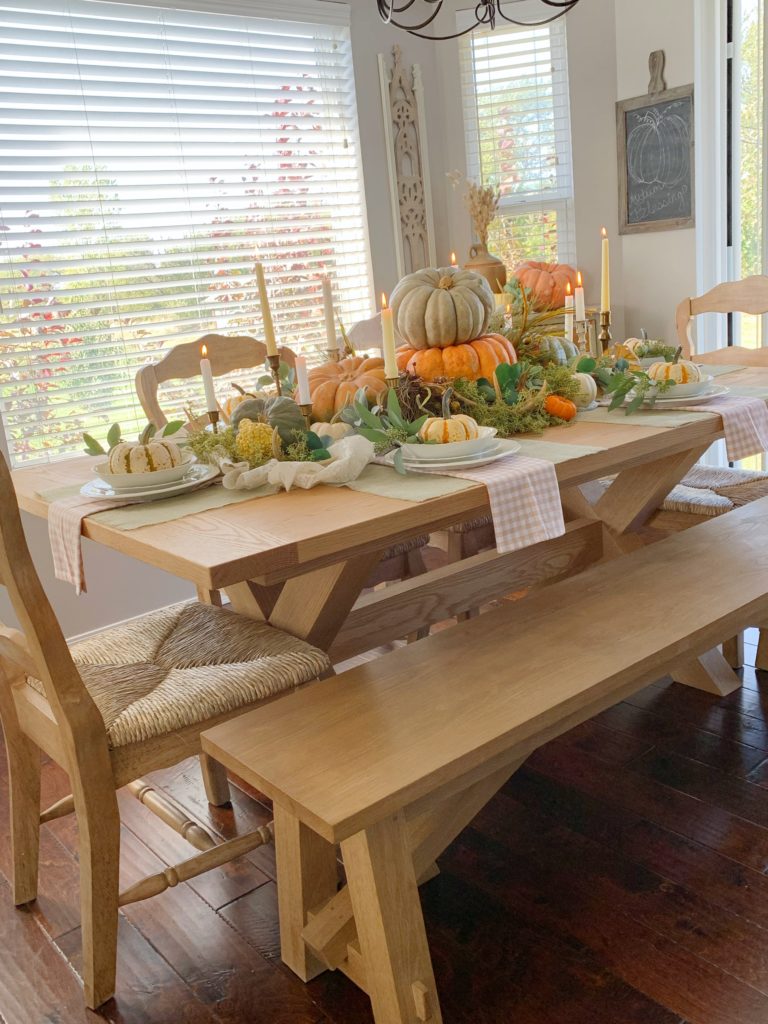
I tend to use a lot of neutral colors in my home decor, so I am mostly drawn to the white, pale blue and peach colored pumpkins. If you prefer a bit more traditional fall color go for yellow, orange or striped pumpkins. In the tablescape I created a couple years ago I mixed neutrals with the more traditional colors.

Mix real and faux to add more interest to the space
In both floral arrangements and vignettes I like to mix real with faux to create interest and give a more realistic look. In many of my floral arrangements I use faux florals and real greenery to add more natural movement to the look. I do the same with my pumpkins. In areas where I use multiple pumpkins I mix real with faux because it adds more texture and realness.

There you have it!! I hope this inspired you to think of real pumpkins as more than just outdoor decor. Bringing them inside to decorate with truly adds such beauty and texture to any space inside or out.
Happy Fall, friend!!


Styling shelves can seem overwhelming, but it doesn’t have to be…
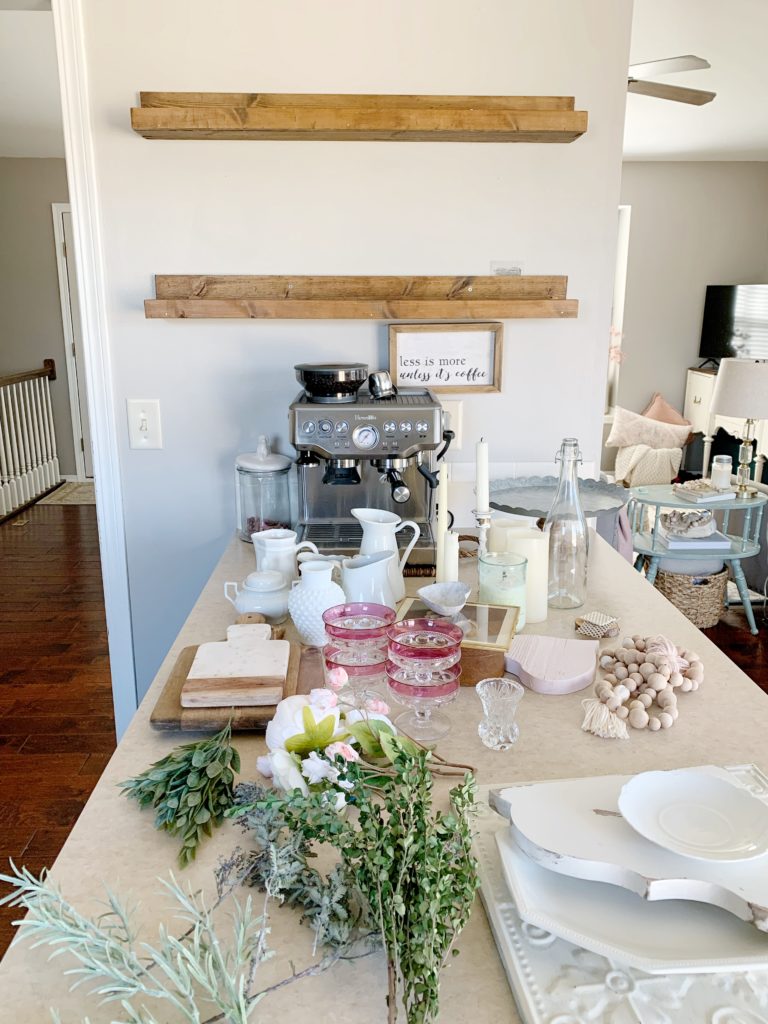
Shelf styling is a common struggle when it comes to home decorating. A blank, flat surface with a million possibilities…where do you start?? Let me bring you inside my decor brain. (You’ll have to push aside the faux florals and bead strands to find a seat.😉) An empty shelf is a canvas ready to be brought to life by your creativity and personal style. Have fun with it! To get started choose a theme or color scheme. Are these shelves going to be left the same for awhile or changed out seasonally? Either way, start by getting a plan together for the elements and the colors you want to feature.
Start with a blank slate
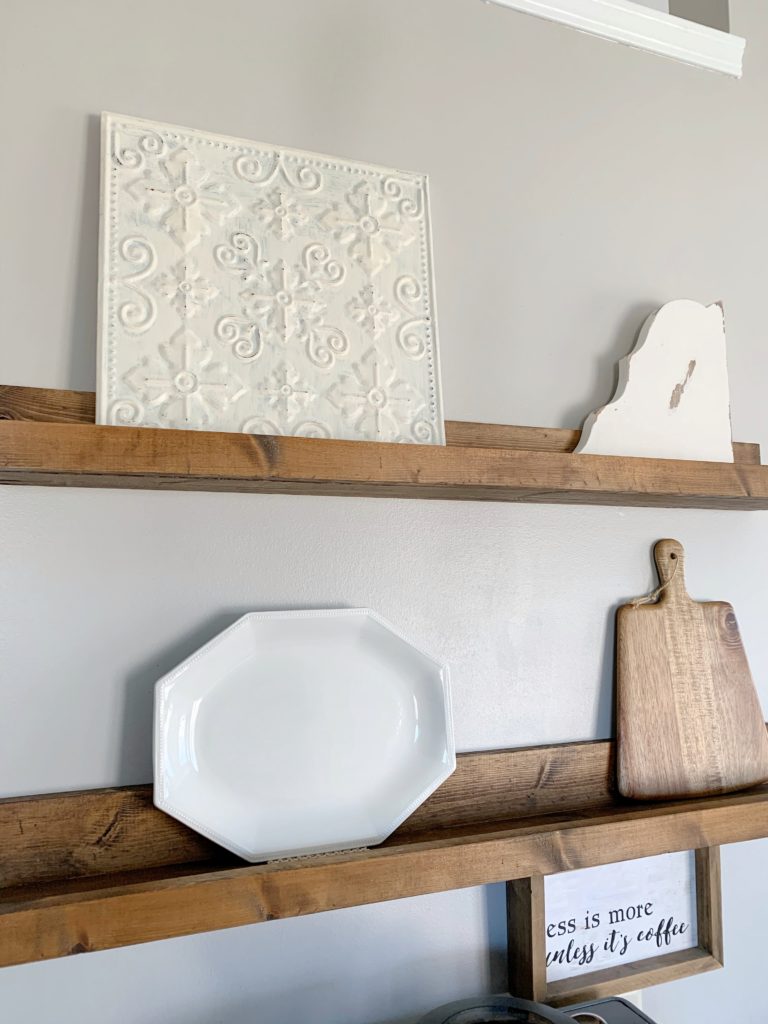
The first thing I do after determining the look I’m going for on my shelves is give myself a blank slate. Previously I had my shelves styled for Valentine’s Day, so first I clear off the existing decor. There are some neutral items I use as a base layer on my shelves quite a bit, so those items stay close at hand. Give the shelves a good dusting, then we’re ready to create or masterpiece!!
Now let’s add a base layer
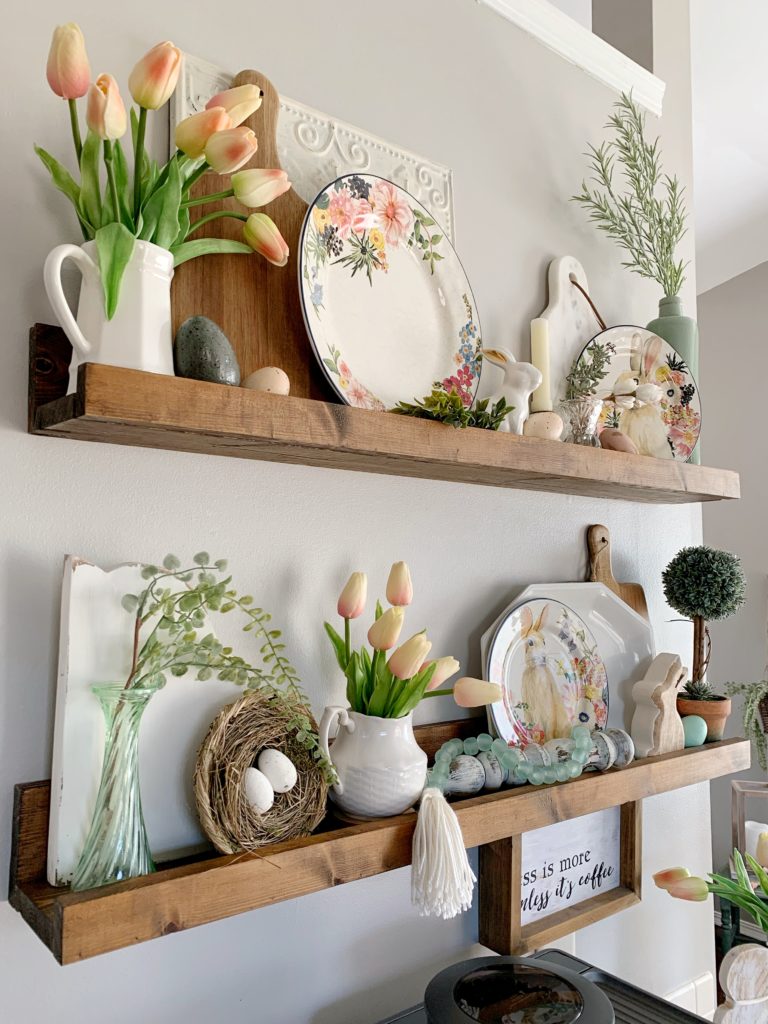
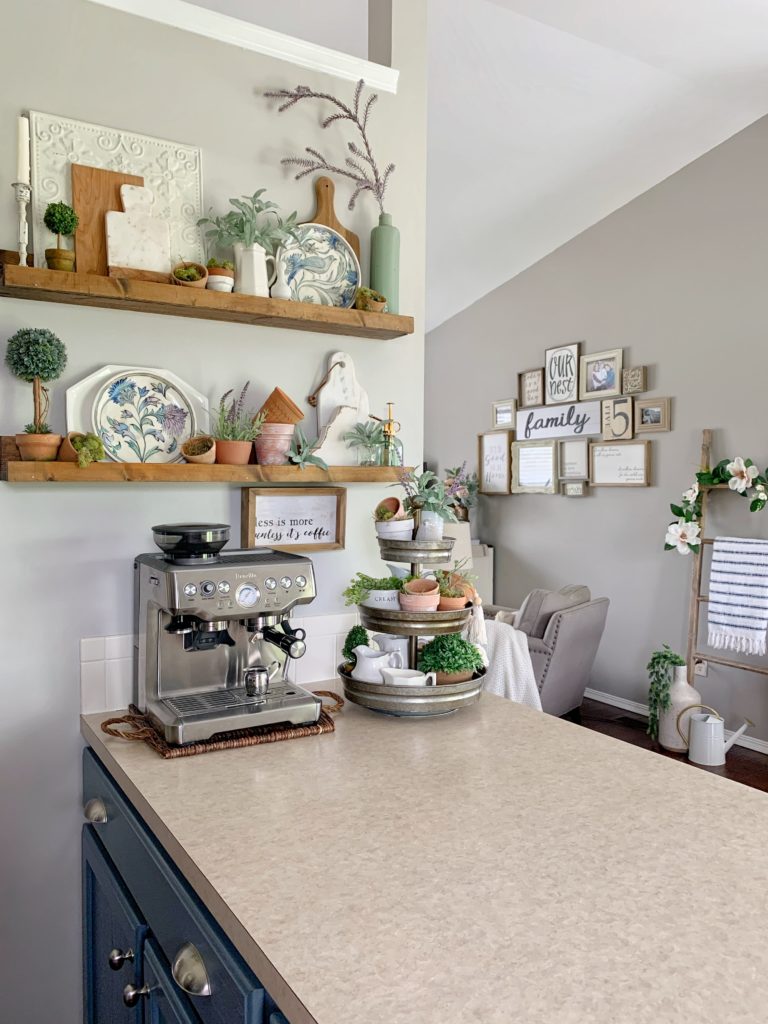
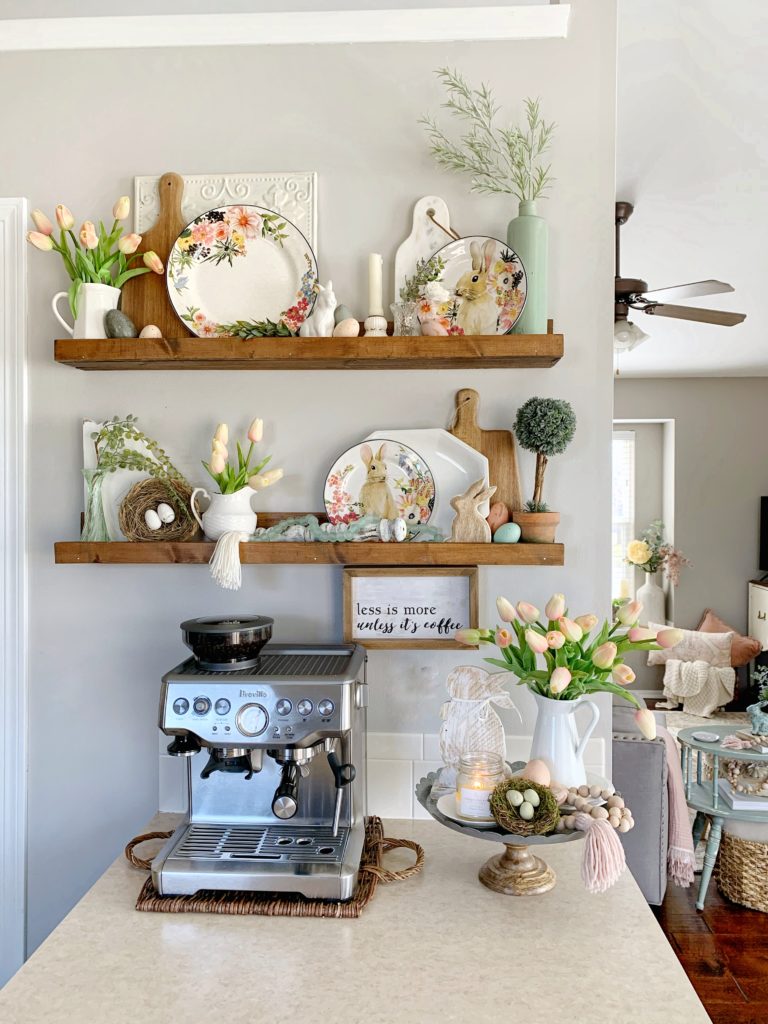
The shelves in my kitchen are not very wide, but that doesn’t stop me from adding layers of decor to create visual interest and texture. I start by placing the base layer, which I’d say are the anchor pieces for the shelves. I tend to stick with a pretty similar base with my shelf decor. Cutting boards, antique Ironstone pieces I pick up from the thrift store or antique mall, corbels, etc… To get started I place the anchor pieces where I think they’ll look best, like pictured below, but let’s face it… they will probably be shifted quite a bit as I continue to add elements to the shelves.
Time to start adding our Seasonal elements
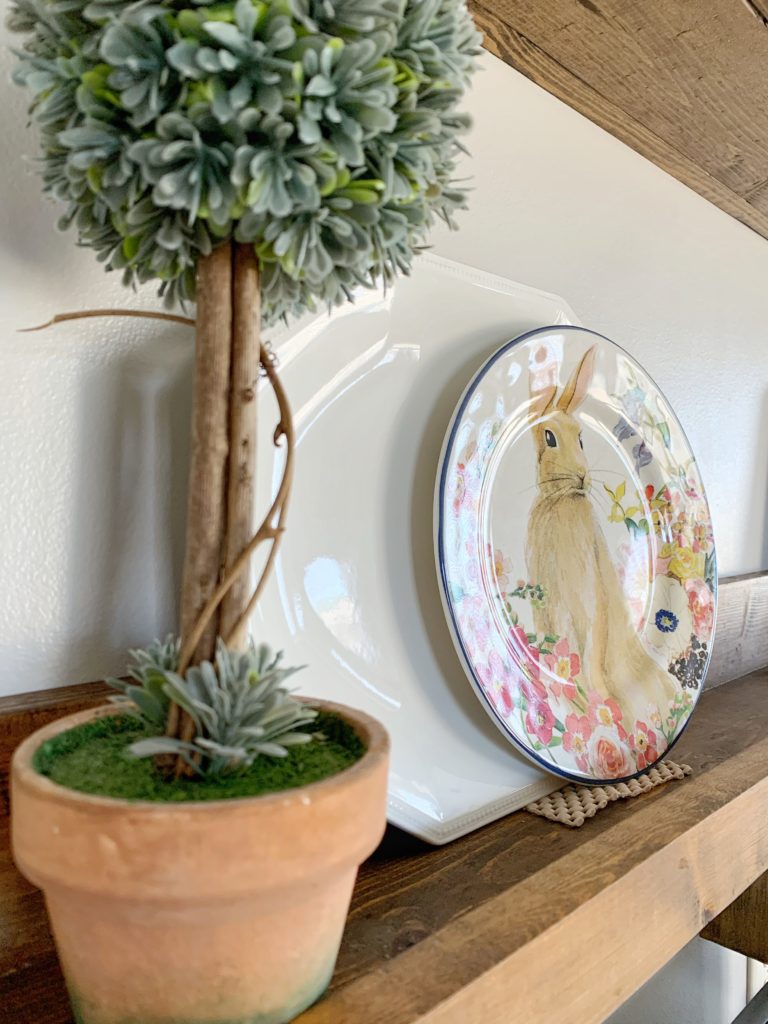
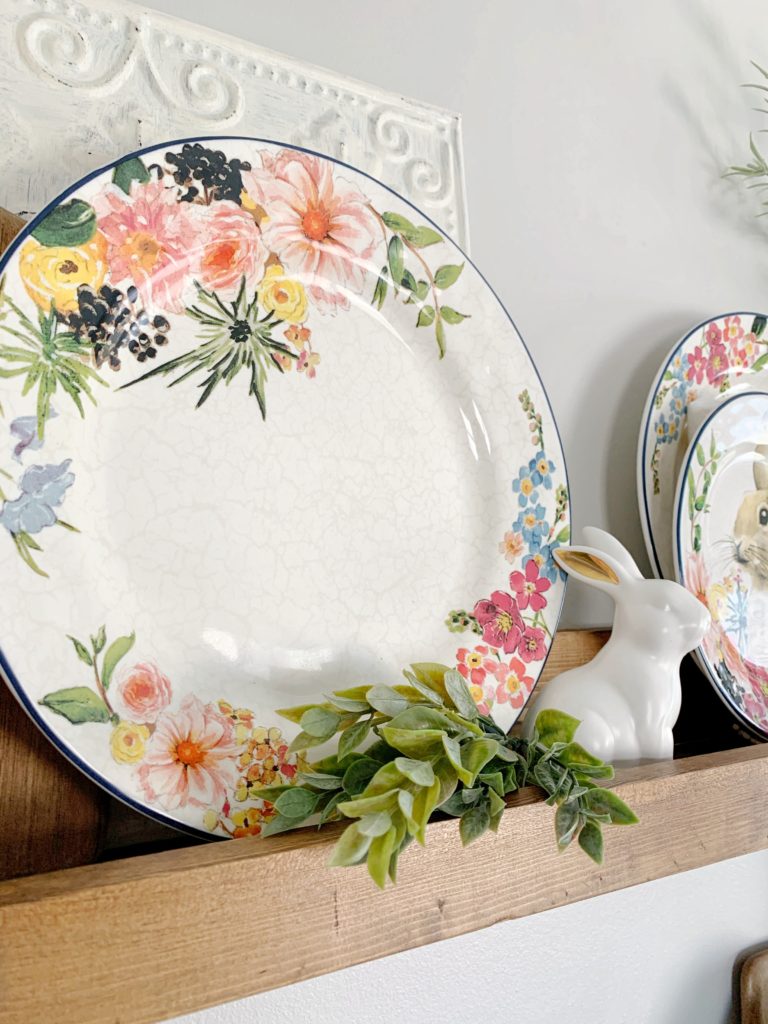
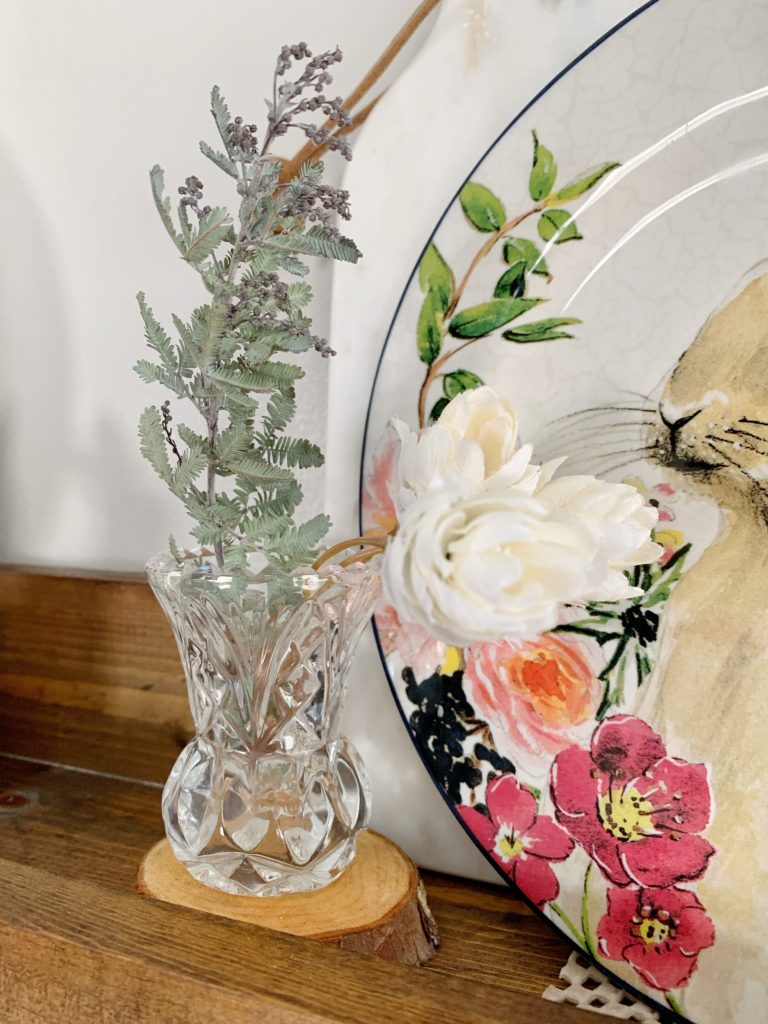
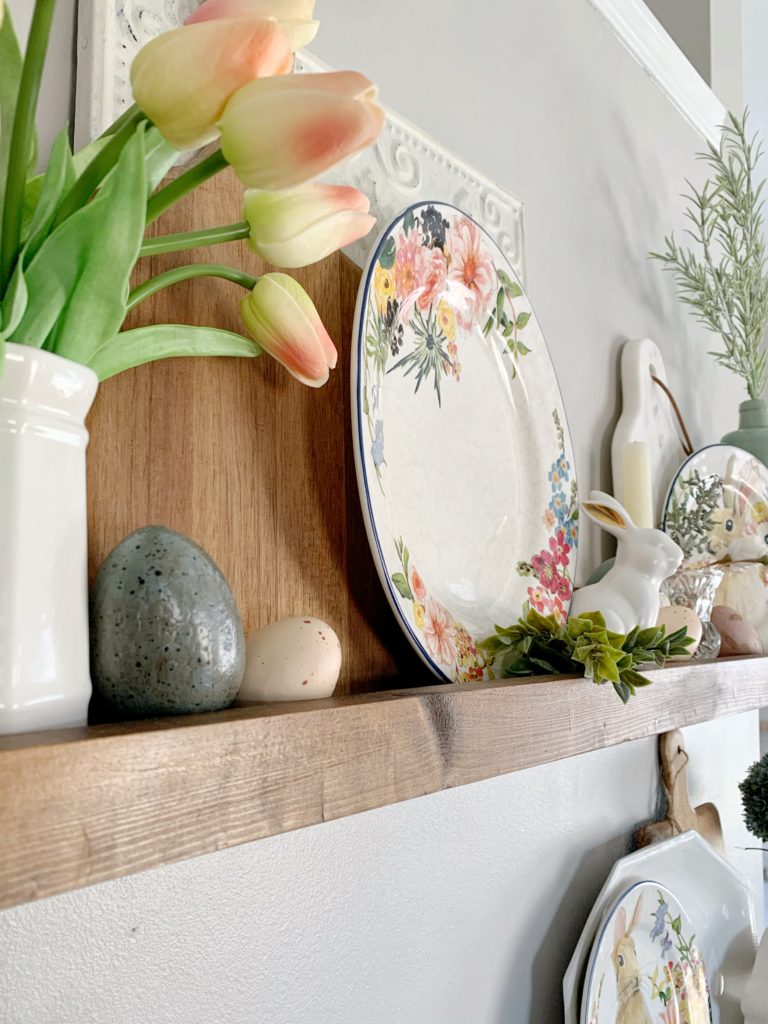
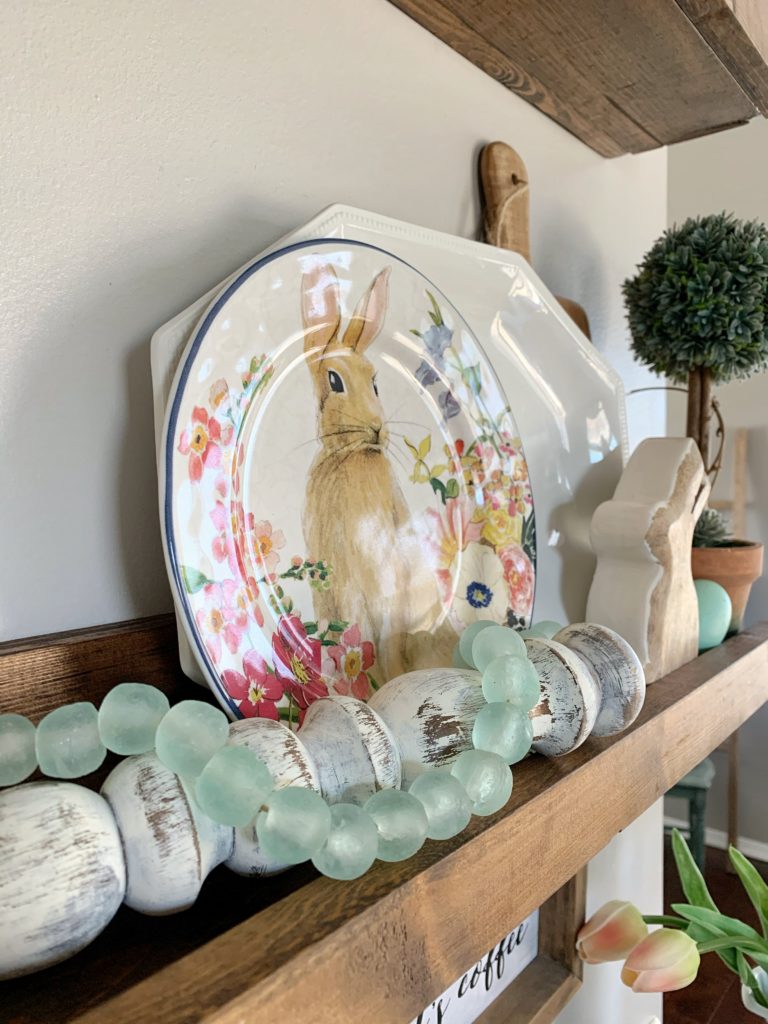
The second layer I add is the seasonal or themed elements. I’m styling the shelves for the upcoming spring & Easter season, so I’m bringing in bunnies and blooms. When I looked through my spring decor I knew my bunny plates would be the key pieces that I’d be working around. I have the matching dinner plates so I decided to try to tie those in as well.
Time for some florals
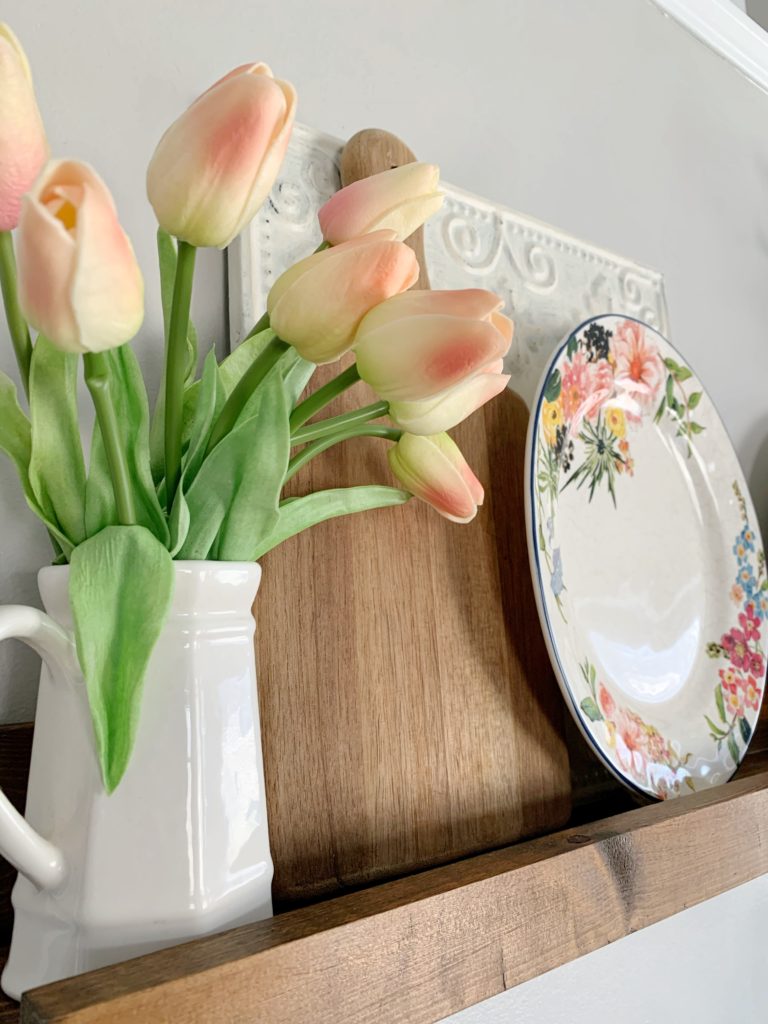
Now that we have our anchors and themed layers in place let’s bring in a bit of texture with greenery and florals. These real touch faux tulips (pictured above) are one of my favorite florals to use in my spring decor. I placed some in a few white creamers I’ve collected over time and as you see they become an added layer to our shelves.
Now for the final touches
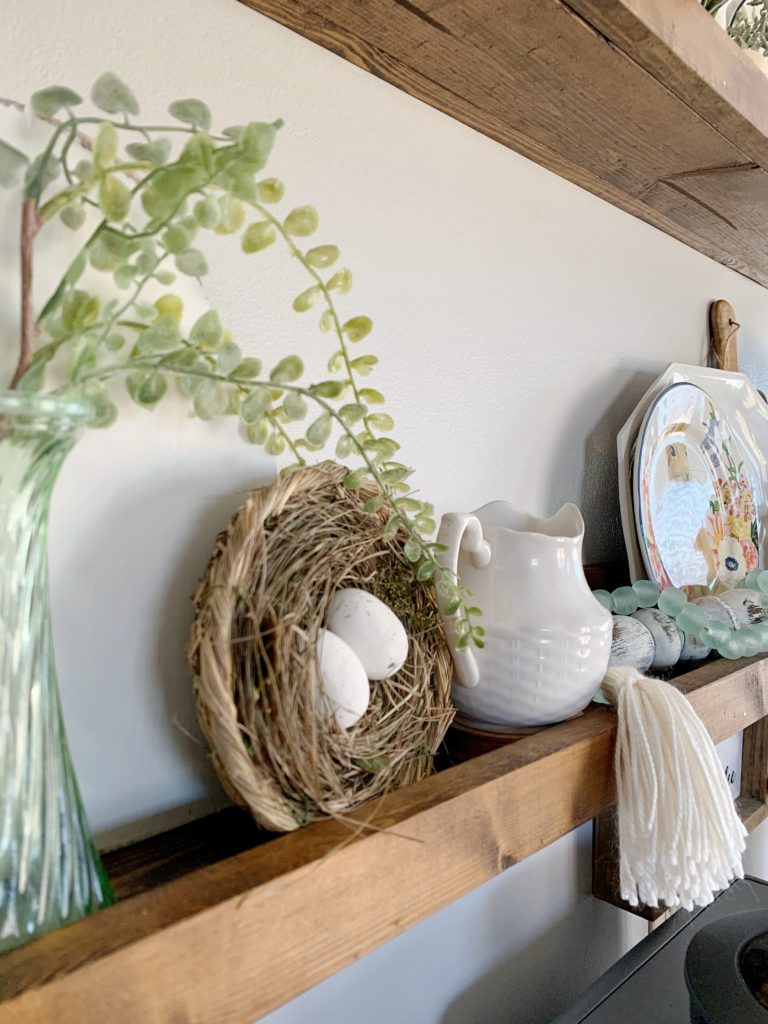
To finish things off add in the small details. Since I’m decorating the shelves for Easter of course I decided to bring in some eggs. Find little pockets of space and layer the small detail items in. Add in other details for texture. For this shelf style I added decor bead strands and nests.
Creating a space you love takes time
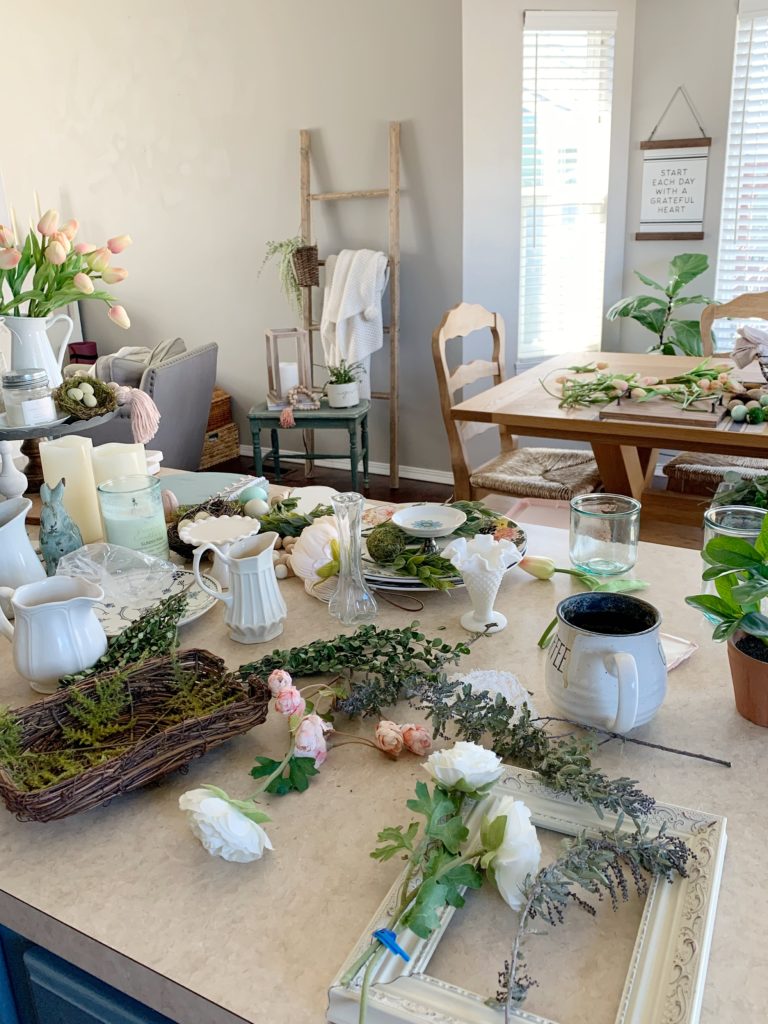
Don’t worry if after you finish your space you aren’t in love. Look it over and see if there are pieces that need to be removed or switched around. It usually takes a few tries before I have things just how I want them. There’s also a mess to be made when it comes to decorating. Let it happen… there’s beauty in the chaos, and you can clean it up after you have the project complete.
Something I didn’t touch on was tying in areas that are close by. For example, I have a cake stand beside my coffee maker. Take elements used on your shelves and tie them into nearby areas as well.
Now it’s your turn…
Okay, now tell me, did this help you gain confidence in styling your shelves? I hope you have pulled some inspiration to use these tips for styling shelves or a table top in your home. The key is to have fun and not let it get overwhelming. Start with your theme and build from your anchor pieces. You’ve got this!!


