Creating a cozy home for my husband and three girls is my passion. As a stay-at-home mom on a budget styling our home to tell the story of us has taken some creativity and a lot of DIY’S. You know what though?... That ended up being the greatest blessing, because as my husband and I figured out how to craft items for our home, the idea of Ruffled Nest was planted! Our hobby turned into a full time gig and boy do I feel blessed beyond words. Here I will share recipes, decorating ideas, DIY’S, and updates for our shop. Thanks for stopping by!
Hey there!
Tips for Styling Kitchen Shelves
March 3, 2021
Styling shelves can seem overwhelming, but it doesn’t have to be…
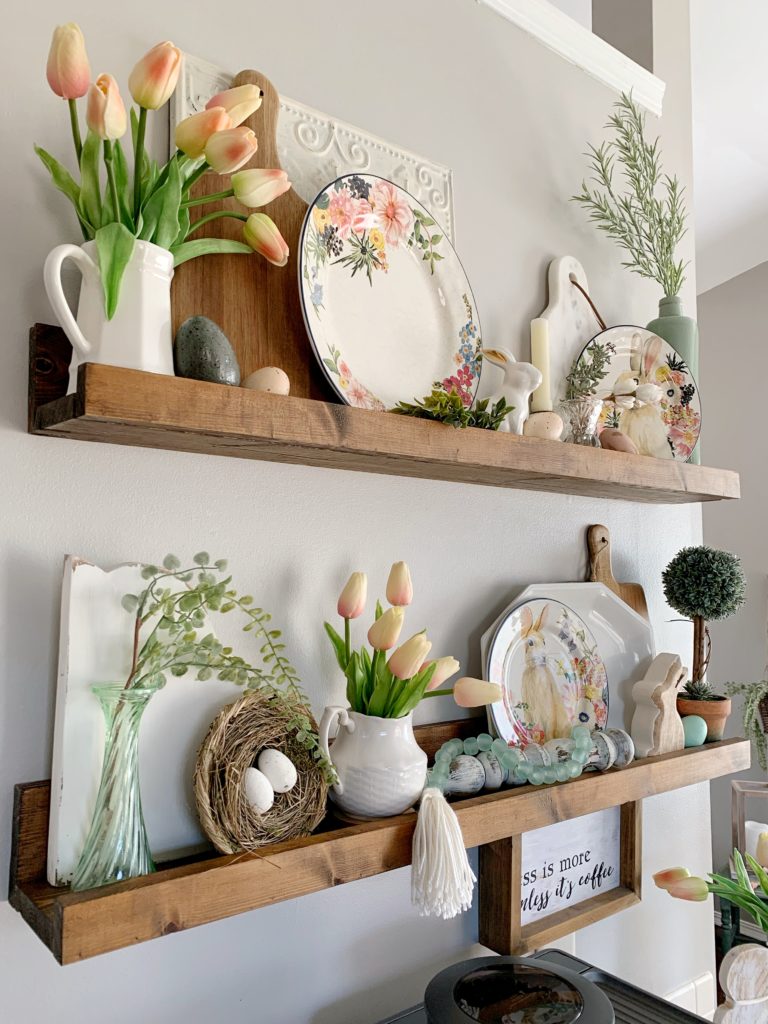
Shelf styling is a common struggle when it comes to home decorating. A blank, flat surface with a million possibilities…where do you start?? Let me bring you inside my decor brain. (You’ll have to push aside the faux florals and bead strands to find a seat.😉) An empty shelf is a canvas ready to be brought to life by your creativity and personal style. Have fun with it! To get started choose a theme or color scheme. Are these shelves going to be left the same for awhile or changed out seasonally? Either way, start by getting a plan together for the elements and the colors you want to feature.
Start with a blank slate
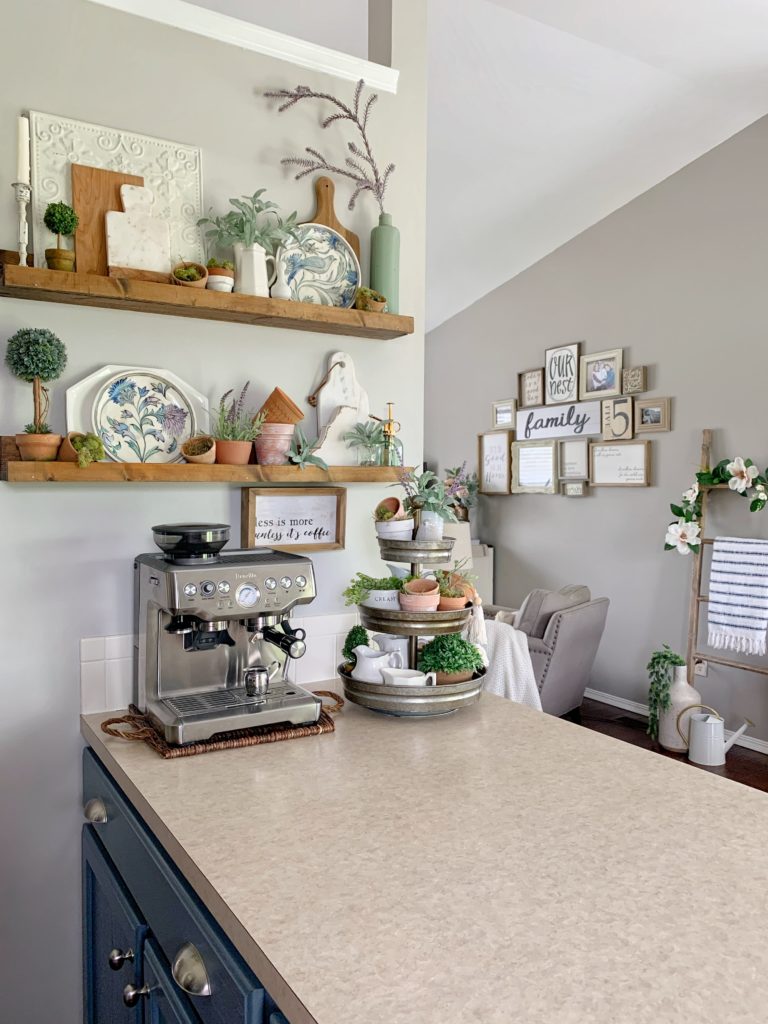
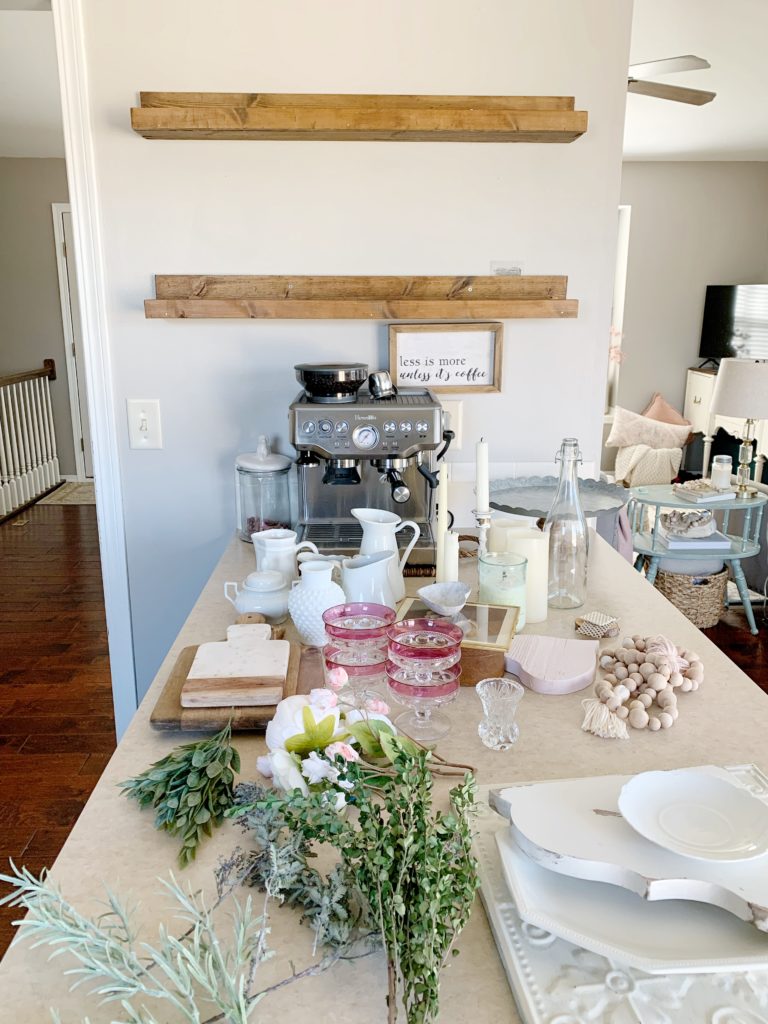
The first thing I do after determining the look I’m going for on my shelves is give myself a blank slate. Previously I had my shelves styled for Valentine’s Day, so first I clear off the existing decor. There are some neutral items I use as a base layer on my shelves quite a bit, so those items stay close at hand. Give the shelves a good dusting, then we’re ready to create or masterpiece!!
Now let’s add a base layer
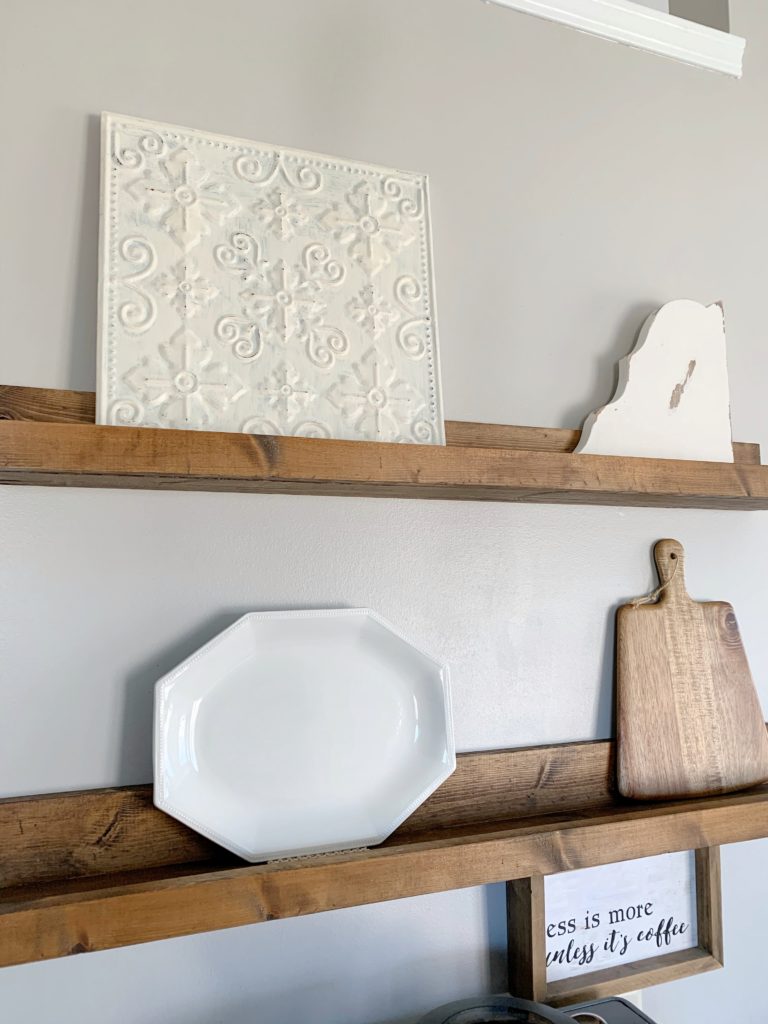
The shelves in my kitchen are not very wide, but that doesn’t stop me from adding layers of decor to create visual interest and texture. I start by placing the base layer, which I’d say are the anchor pieces for the shelves. I tend to stick with a pretty similar base with my shelf decor. Cutting boards, antique Ironstone pieces I pick up from the thrift store or antique mall, corbels, etc… To get started I place the anchor pieces where I think they’ll look best, like pictured below, but let’s face it… they will probably be shifted quite a bit as I continue to add elements to the shelves.
Time to start adding our Seasonal elements
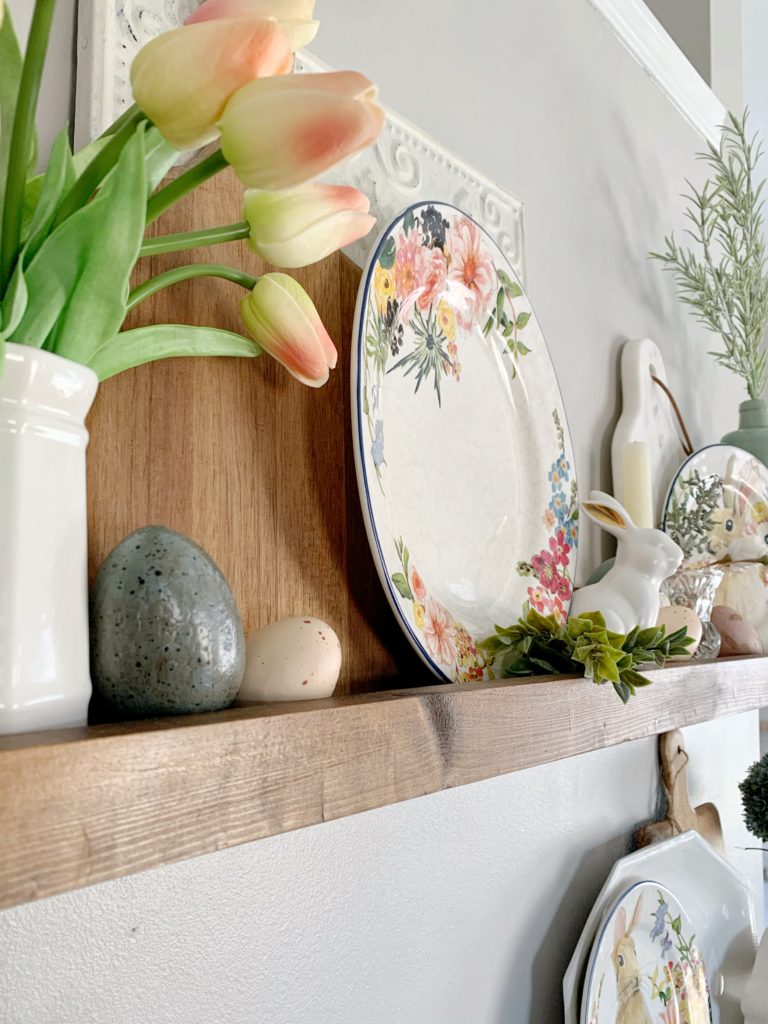
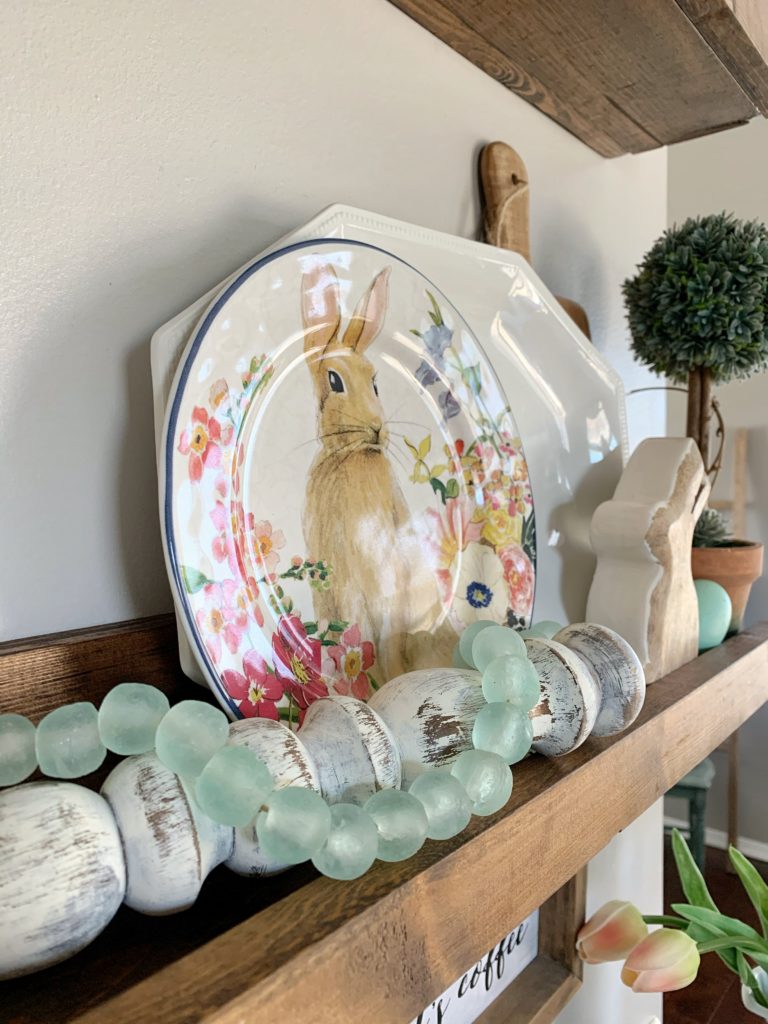
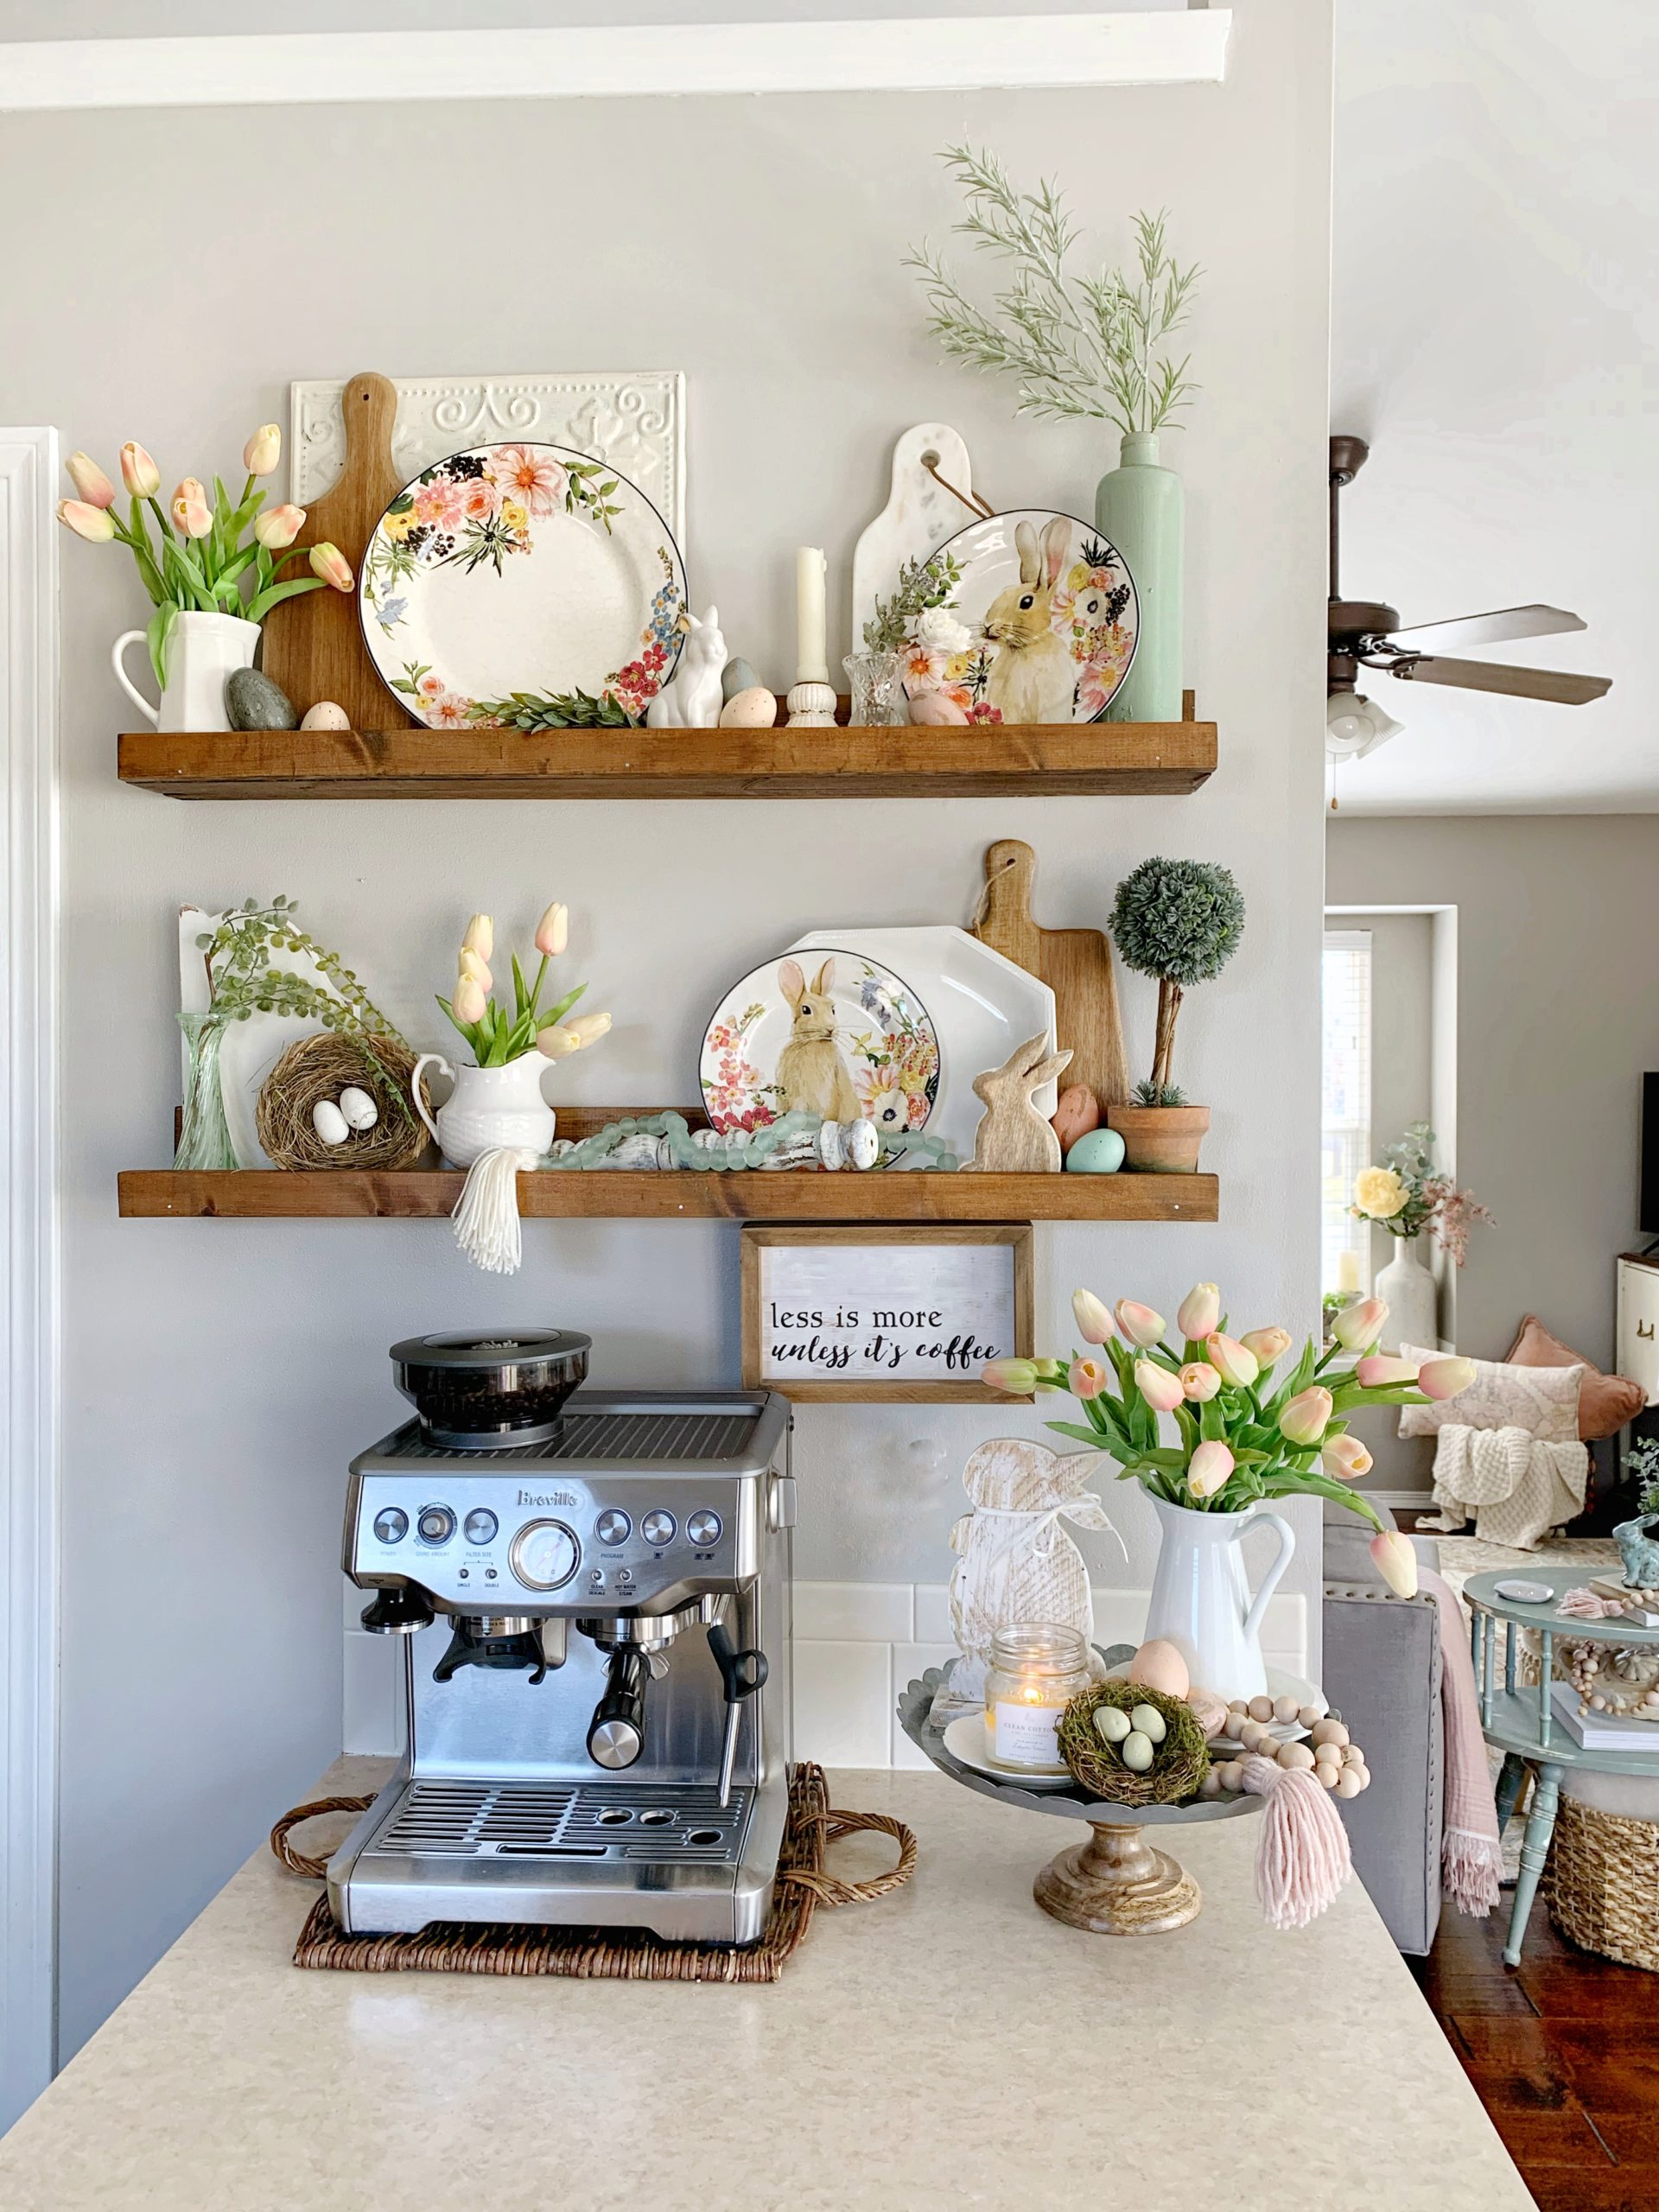
The second layer I add is the seasonal or themed elements. I’m styling the shelves for the upcoming spring & Easter season, so I’m bringing in bunnies and blooms. When I looked through my spring decor I knew my bunny plates would be the key pieces that I’d be working around. I have the matching dinner plates so I decided to try to tie those in as well.
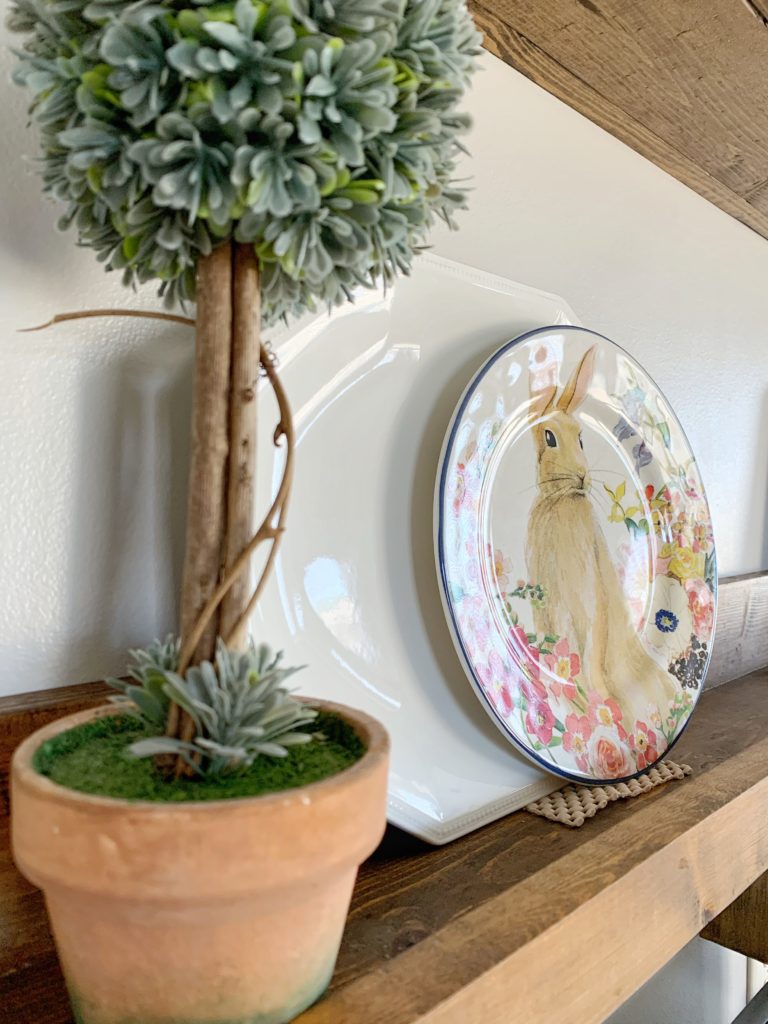
Time for some florals
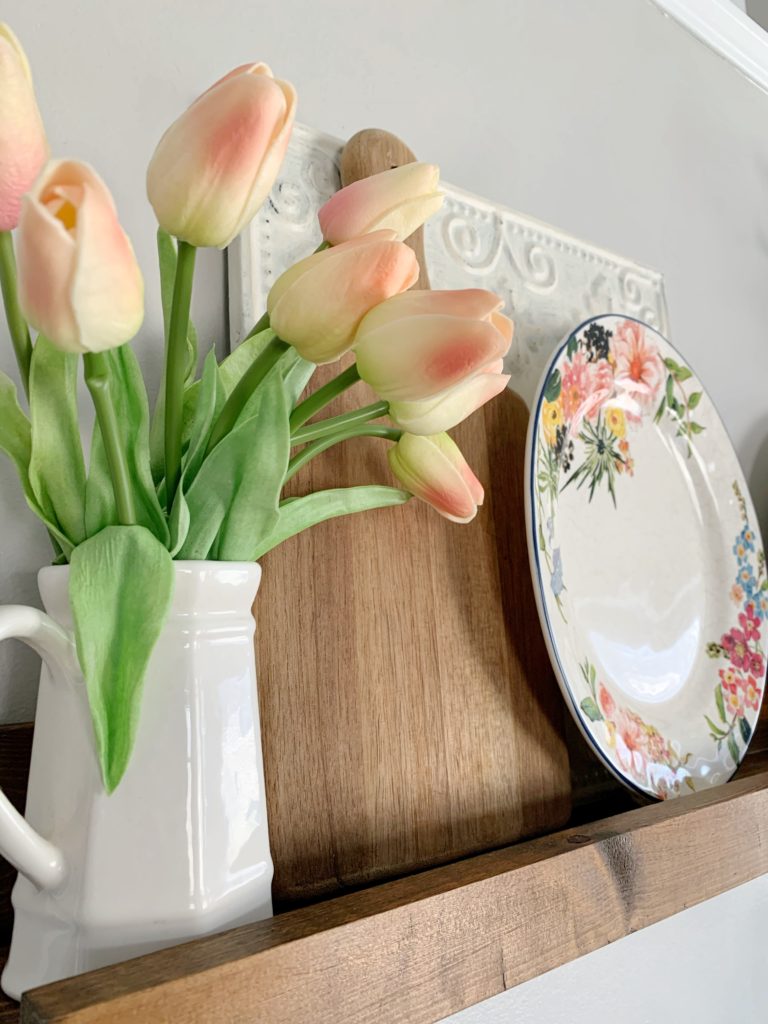
Now that we have our anchors and themed layers in place let’s bring in a bit of texture with greenery and florals. These real touch faux tulips (pictured above) are one of my favorite florals to use in my spring decor. I placed some in a few white creamers I’ve collected over time and as you see they become an added layer to our shelves.
Now for the final touches
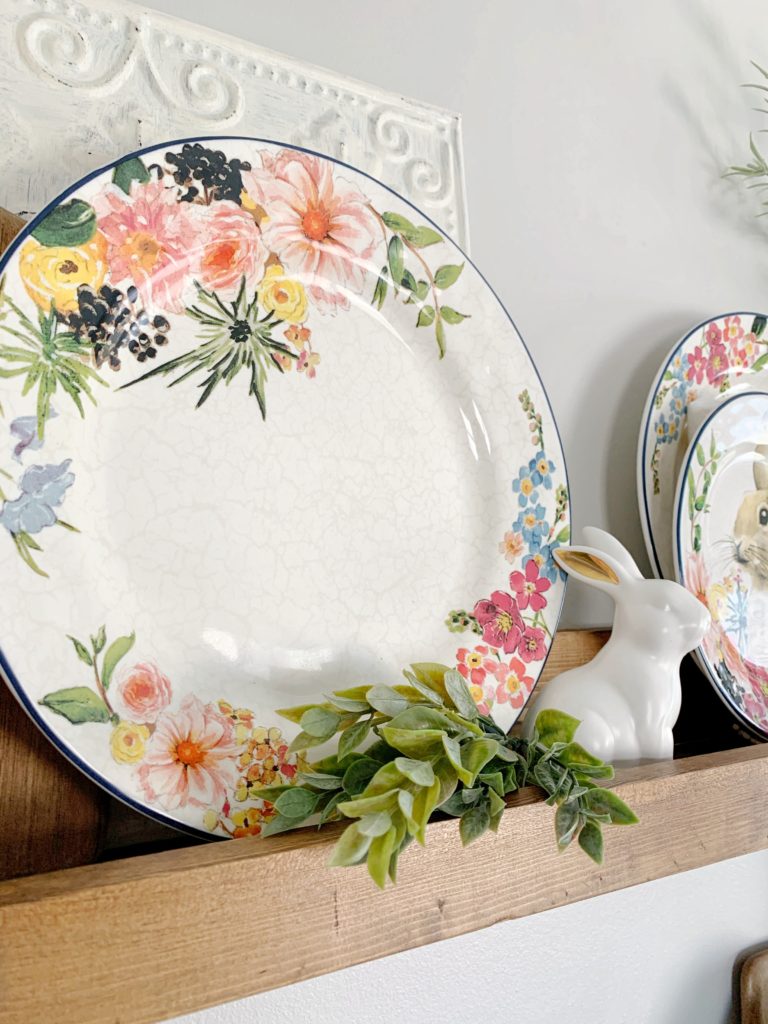
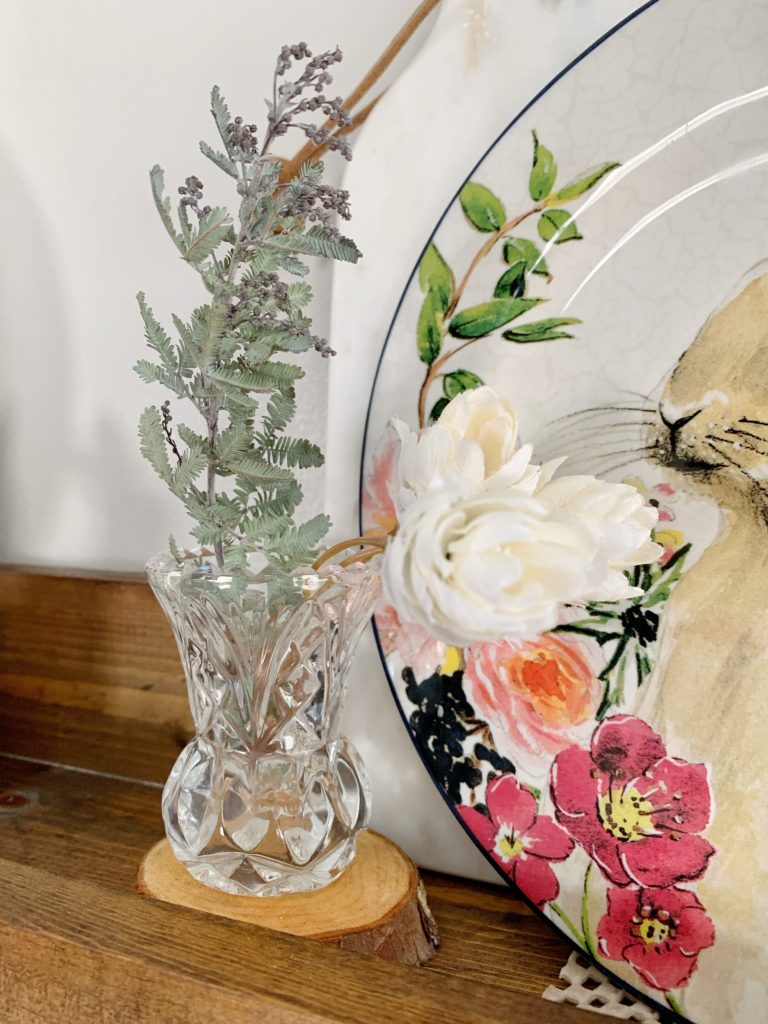
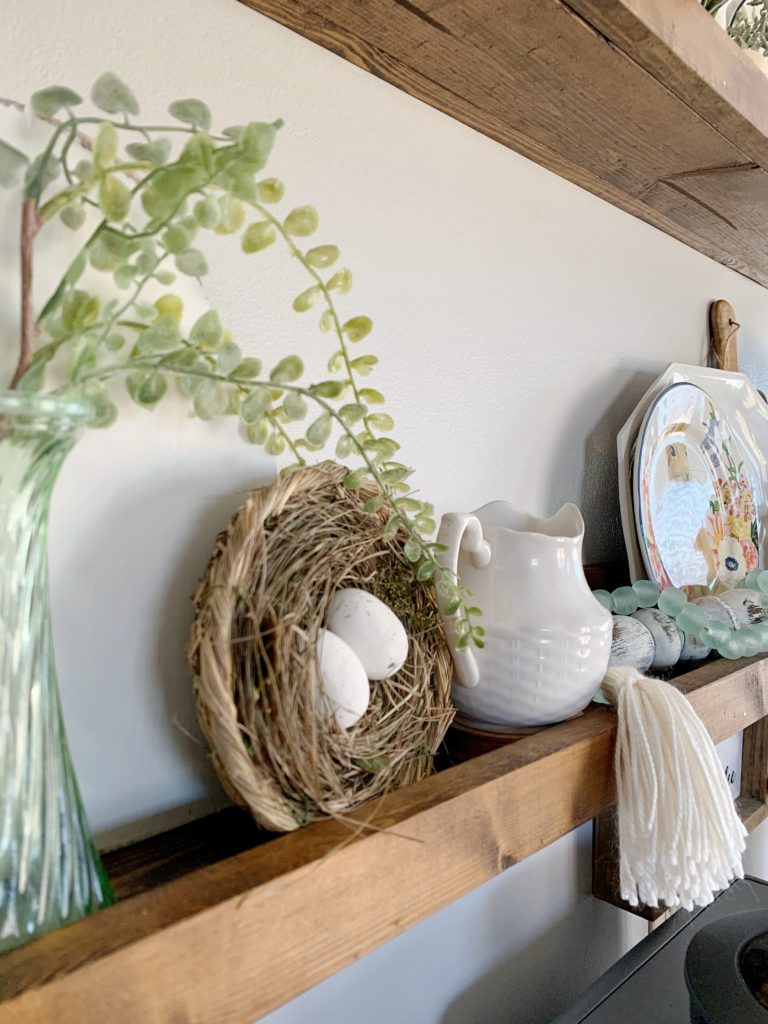
To finish things off add in the small details. Since I’m decorating the shelves for Easter of course I decided to bring in some eggs. Find little pockets of space and layer the small detail items in. Add in other details for texture. For this shelf style I added decor bead strands and nests.
Creating a space you love takes time
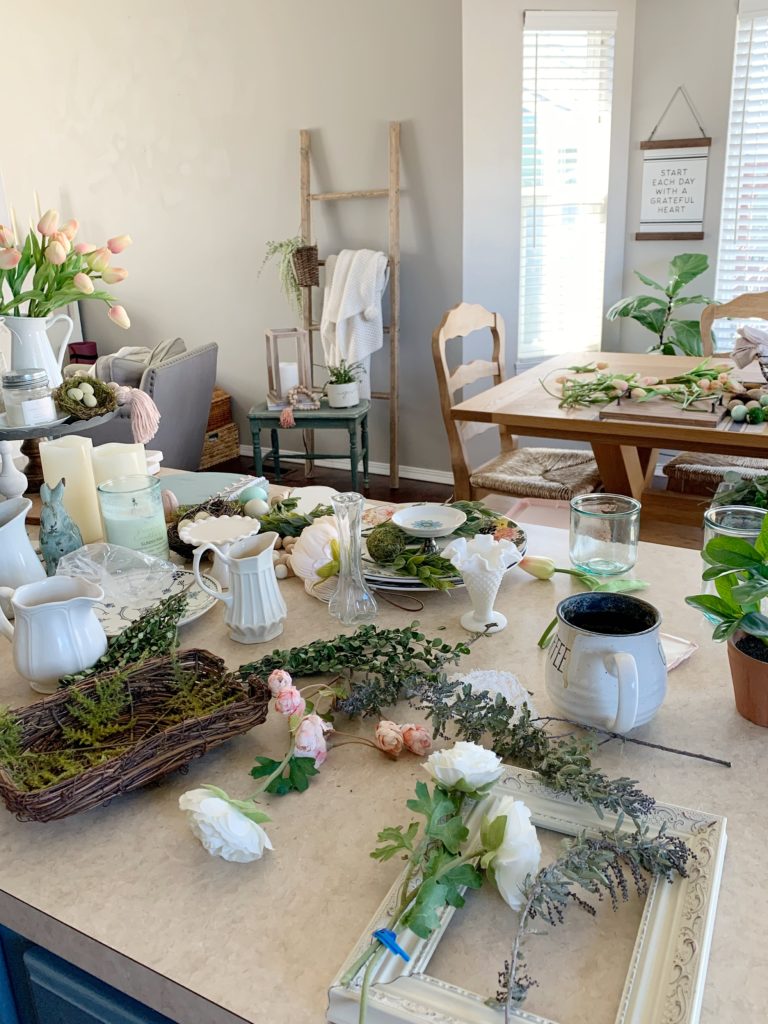
Don’t worry if after you finish your space you aren’t in love. Look it over and see if there are pieces that need to be removed or switched around. It usually takes a few tries before I have things just how I want them. There’s also a mess to be made when it comes to decorating. Let it happen… there’s beauty in the chaos, and you can clean it up after you have the project complete.
Something I didn’t touch on was tying in areas that are close by. For example, I have a cake stand beside my coffee maker. Take elements used on your shelves and tie them into nearby areas as well.
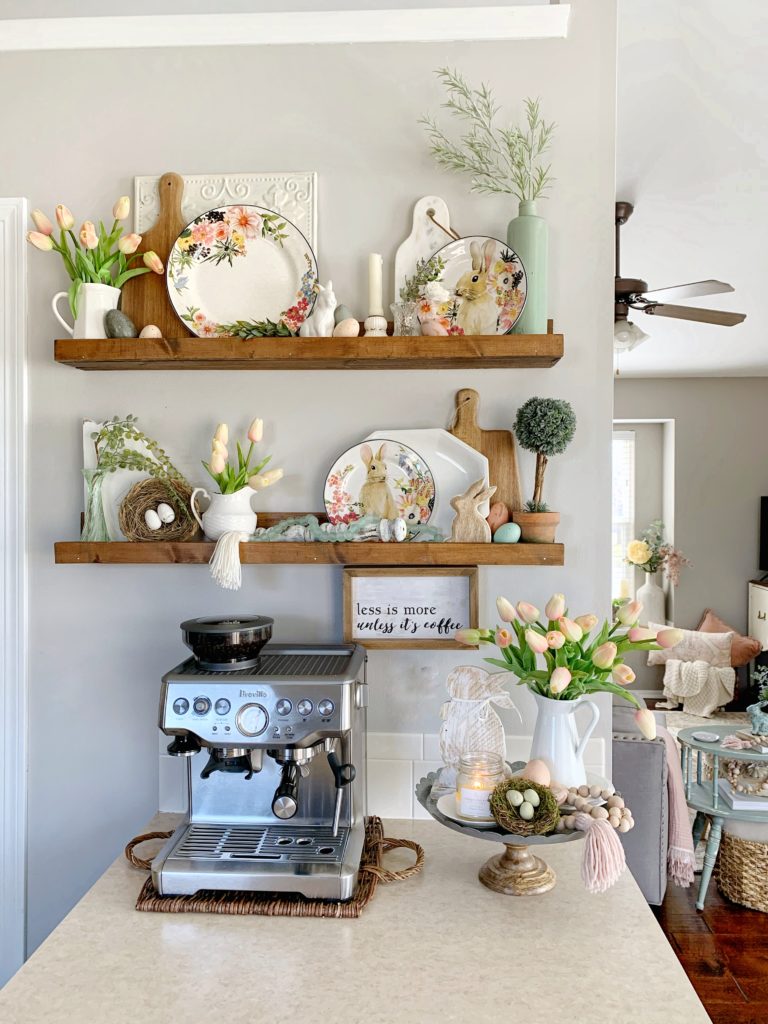
Now it’s your turn…
Okay, now tell me, did this help you gain confidence in styling your shelves? I hope you have pulled some inspiration to use these tips for styling shelves or a table top in your home. The key is to have fun and not let it get overwhelming. Start with your theme and build from your anchor pieces. You’ve got this!!

Leave a Reply Cancel reply
Designed by Gillian Sarah
Copyright 2021 Ruffled Nest Decor
I always look forward to your shelf styling and this step by step article on your process is so good! I am definitely going to use the tip of cutting small squares of the drawer gripper, that’s simple but so smart, thank you!
What a helpful & well written tutorial on styling shelves, Angie! Thank you! I’m all inspired now. ❤️😀👌🏼
Beautiful! Love you’re style.
Wow you’re so talented Angie! Love the detailed way you laid out this post. Gotta get stylin’ on my shelves now🤗
Angie, this was so helpful! I always struggle with the shelves & you gave so many great tips & inspo! Can’t wait to do my ow shelves now.🤗
I’m so happy to hear this inspired you Debi!
Inspiring and beautiful styling and decorating. I really enjoyed reading your thought process.